The Vim CLI Text-Editor
18 min read·Jan 1, 2025
A text editor is a program that allows you to write and edit plain text files, which exclusively consist of character representation and contain no other information than the text itself.
A word processor, on the other hand, is a program that allows you to write and edit rich text files, which contain characters, but also metadata, character and paragraph formatting data (e.g. font size, color, alignment), and page specification data.
Unlike rich text files, plain text files are mainly used by developers for writing code, scripts, programs, and configuration files.
Text editors can either be standalone visual programs such as VSCode, or command line programs accessible through the shell such as Vim.
Note that since Vim is a complex editor with hundreds of available shortcuts and commands, this lesson will only cover the most common ones that you are likely to use on a regular basis.
Installing Vim
To check whether Vim is already installed on your system, you can output its version number using the vim command:
$ vim --version
Installing Vim on Linux
To install Vim on Linux, you need to first update the package information from all the configured sources using the apt update command:
$ sudo apt update
Then use the apt install command:
$ sudo apt install vim
Installing Vim on macOS
To install Vim on macOS, you can use the brew install command:
$ brew install vim
Vim's basic modes
Vim essentially differs from other editors by its use of modes inherited from vi, where each mode serves a different purpose like editing text, inserting text, running commands, and so on.
It is therefore important to understand what they do, how to switch between them, and how they may influence or change the behavior of Vim's predefined hotkeys.
Here is a shortlist of Vim's basic modes you will use most of the time.
The Normal mode
The Normal mode is the default mode when launching Vim.
It is the one you will spend the most time using as it allows you to navigate the text, copy/cut/paste characters, words and lines, but also roll-back actions, and so on.
The Insert mode
The Insert mode is the one you should be the most familiar with.
It allows you to modify the text by typing and removing characters, the same way you would do in any other graphical text editor like VS Code or Atom.
The Command-line mode
The Command-line mode offers a more advanced way of executing commands that are cumbersome or impossible to perform through the Normal mode.
It allows you to search, replace, save, quit, and more.
An overview of Vim's workflow
In the following sections, we'll cover the most essential Vim workflow for creating, editing, and saving files in Vim.
Opening a file
Let's start by opening a new file in Vim using the vim command followed by the path to the file:
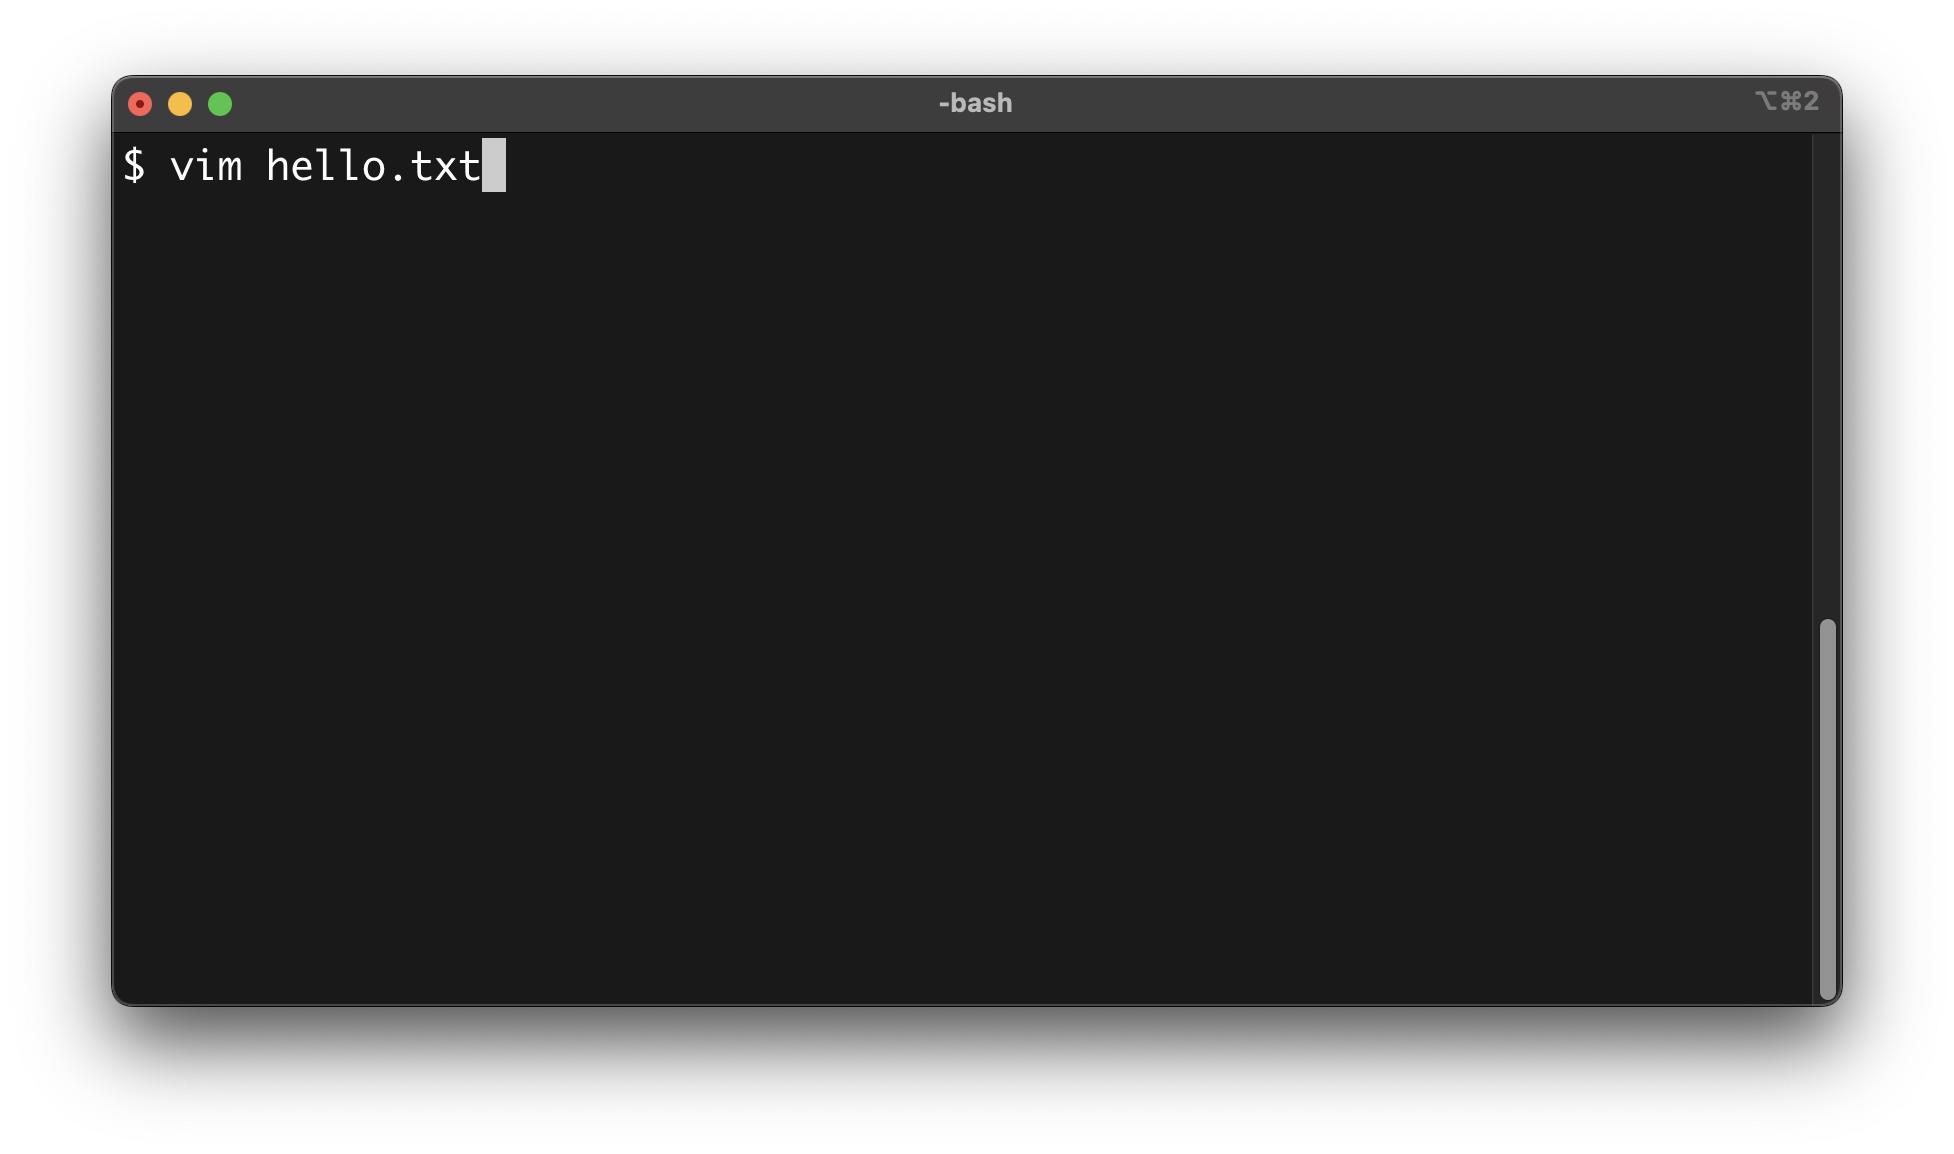
Note: To open and edit files that requires superuser privileges, such as system files, you need to prepend this command with
sudo:$ sudo vim <file>
Editing a file
To edit the content of the file, you need to switch from the default Normal mode to the Insert mode by pressing the i key (short for insert).
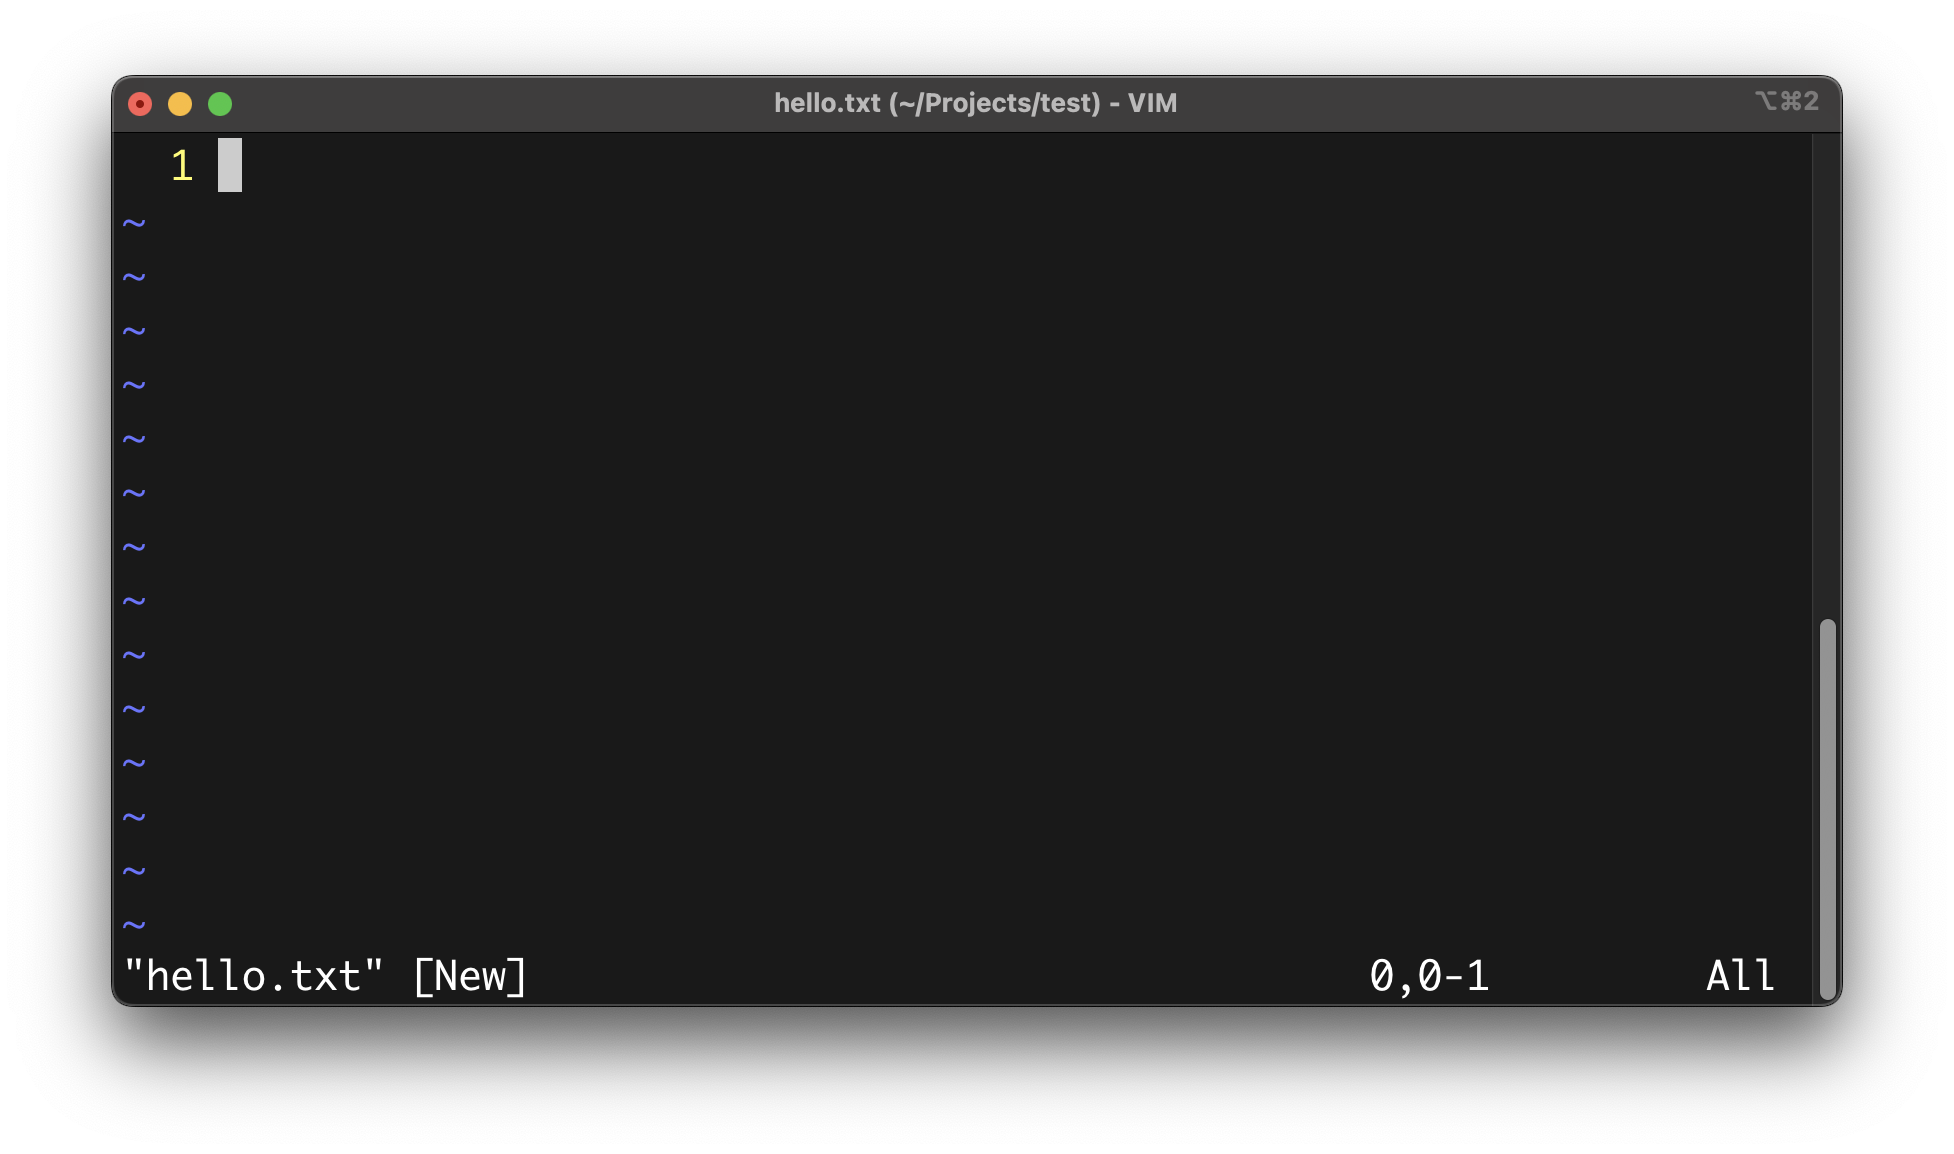
Once pressed, you should see appearing at the bottom of the window an -- INSERT -- message indicating that you can now type characters in the editor's window.
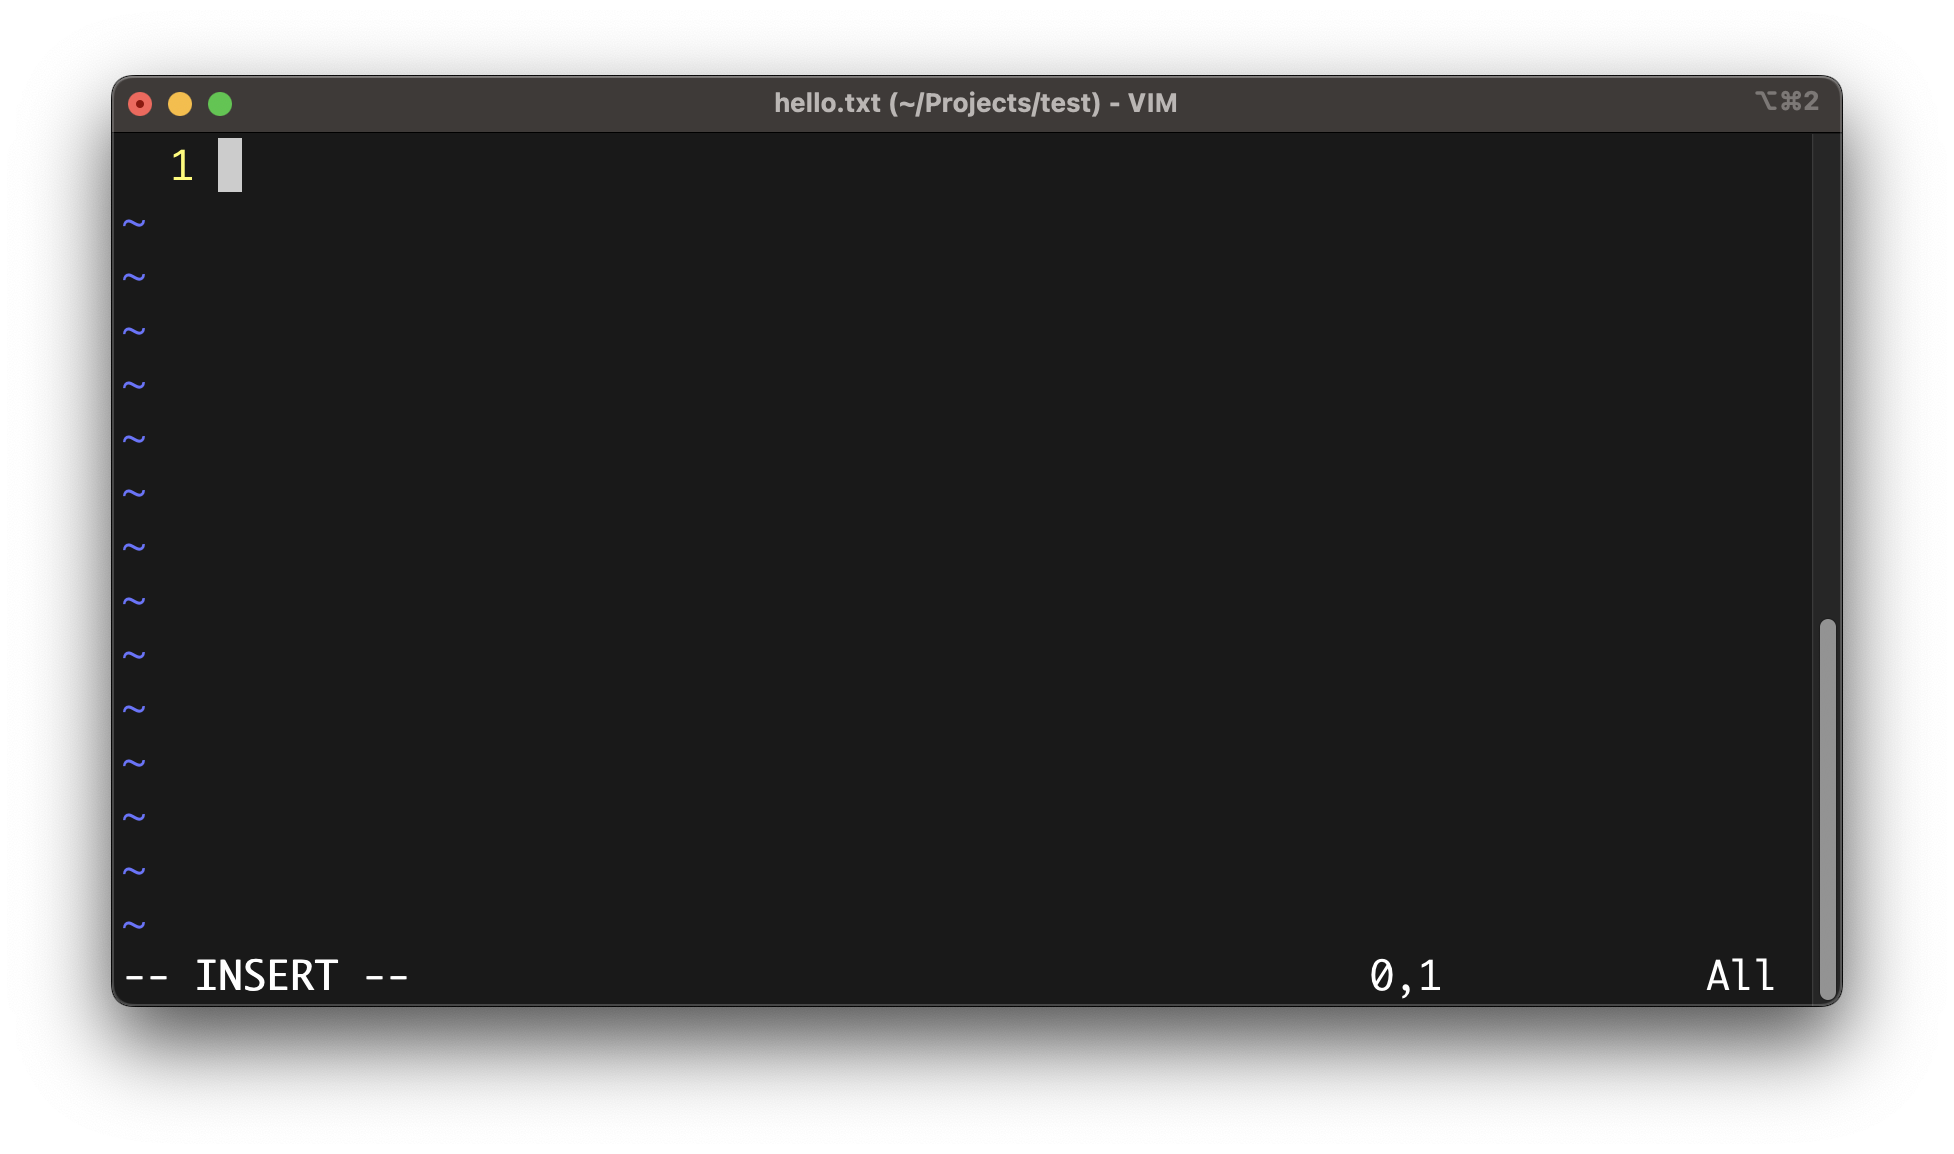
For example, you can type the string "Hello, World!".
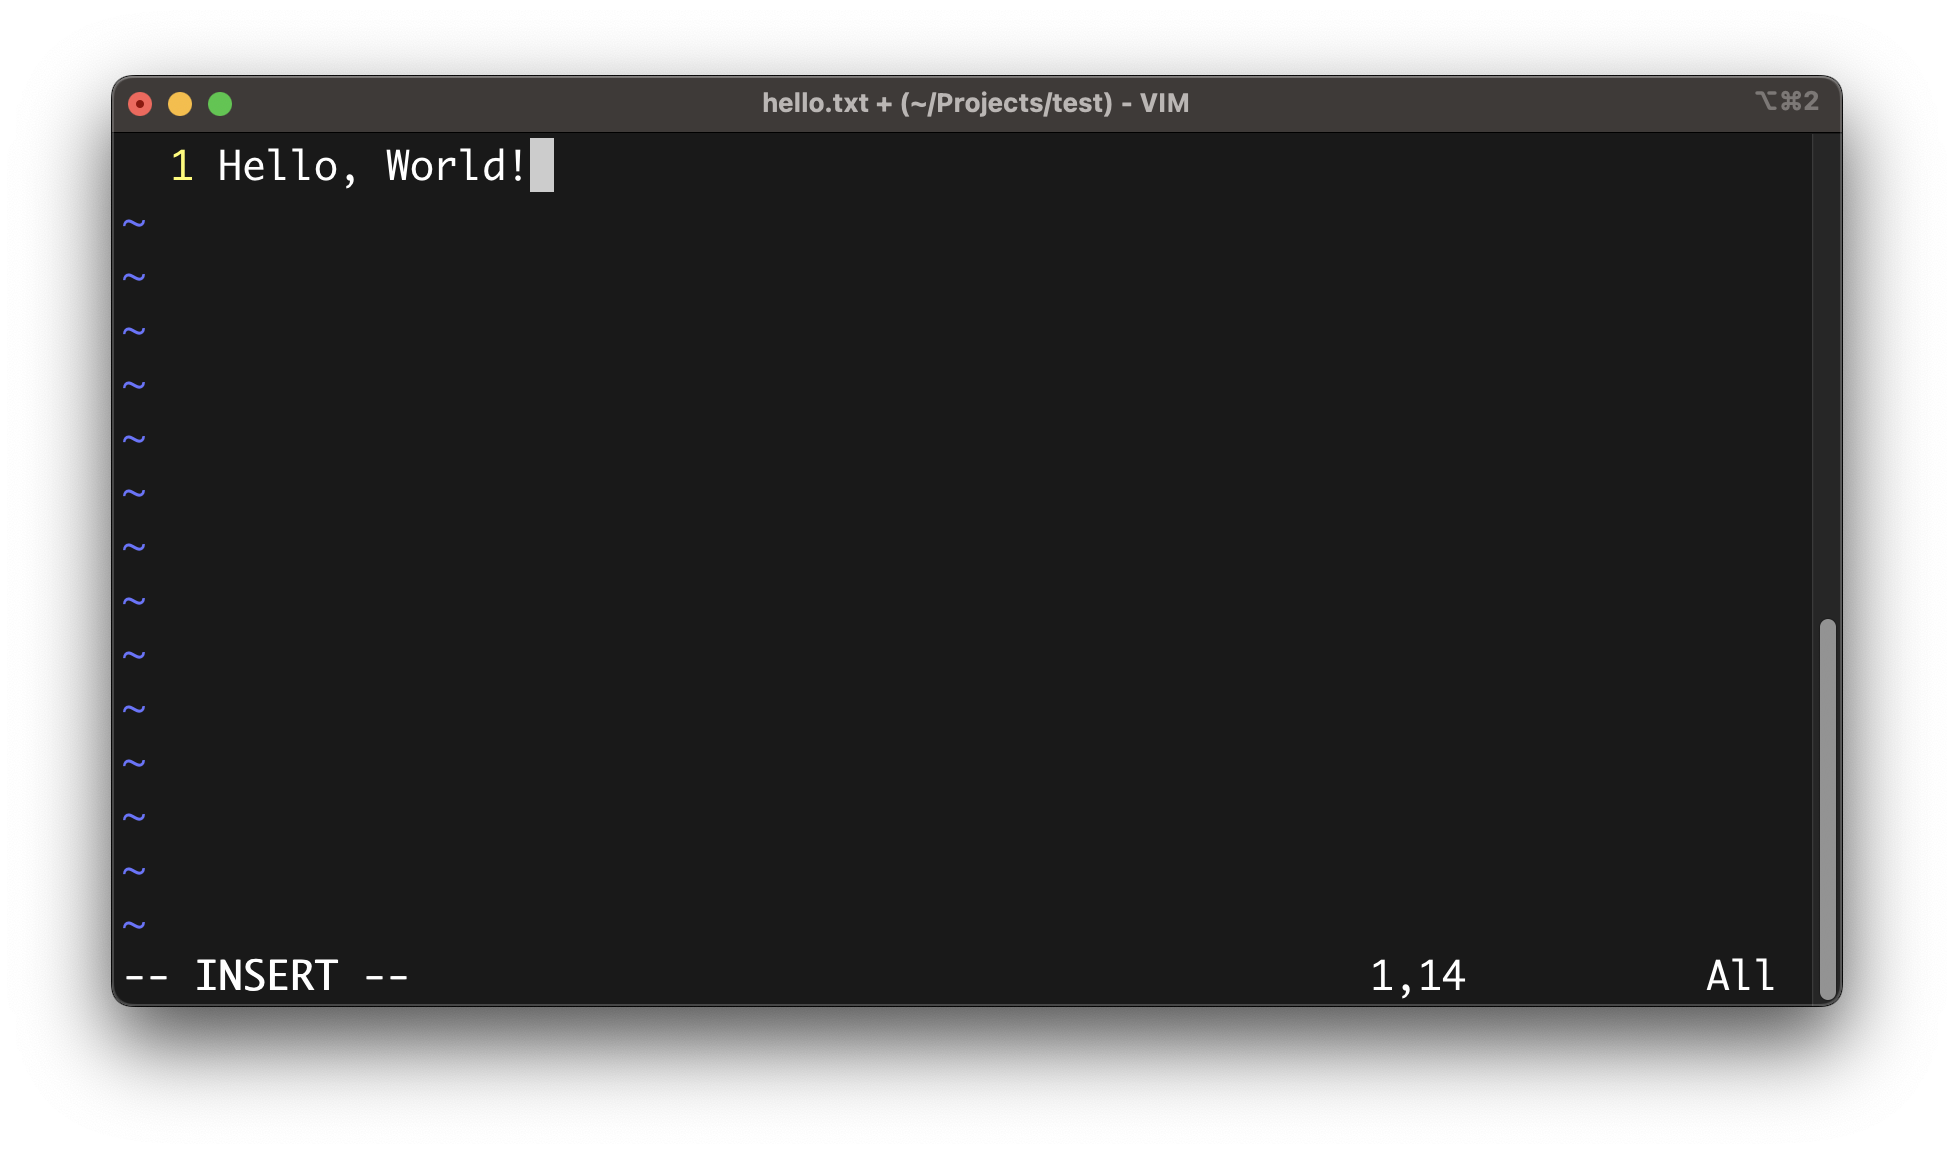
Saving a file
To save the file, you need to first switch back from the Insert mode to the Normal mode by pressing the ESC key, which will make the --INSERT-- message disappear.
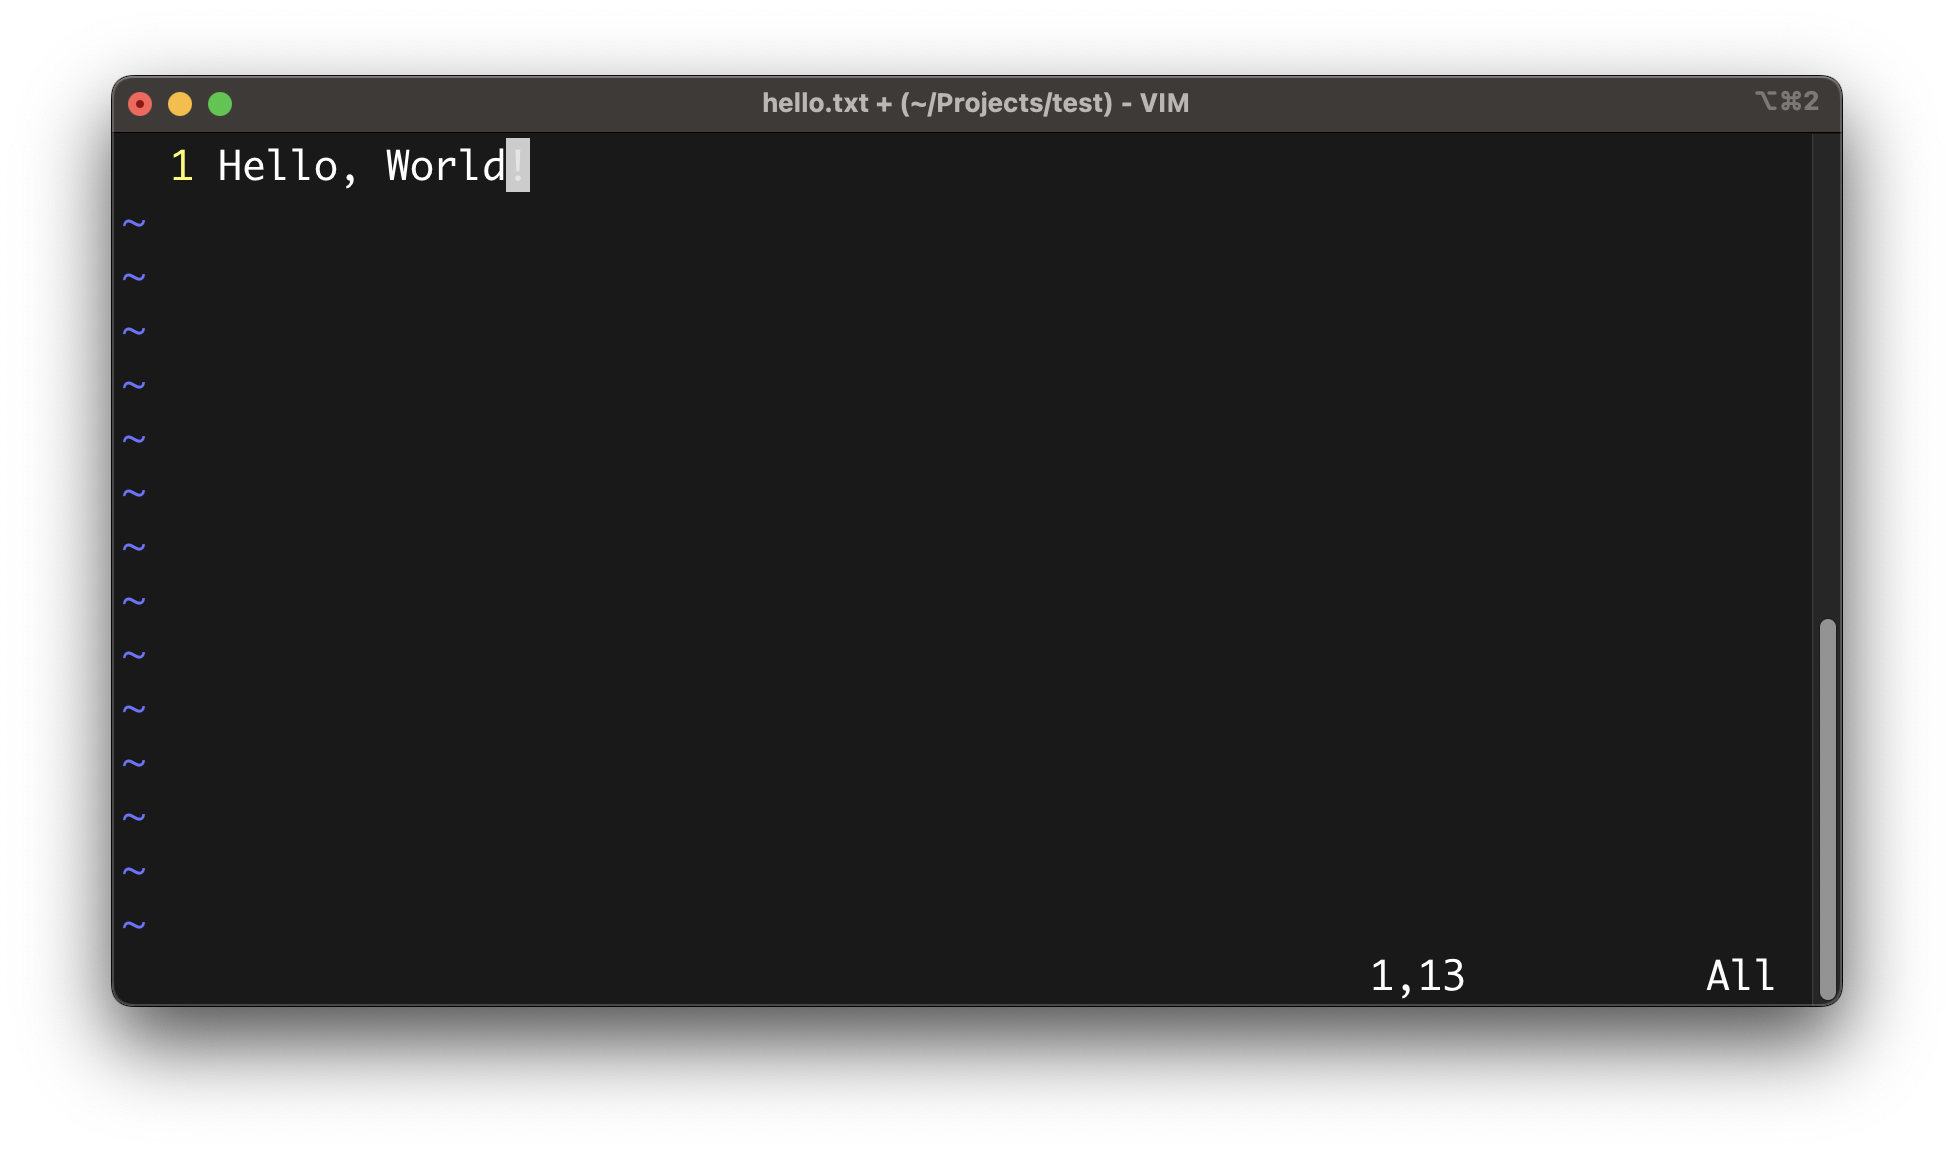
Then, you need to switch to the Command-line mode by pressing the : key and type the w character (short for write).
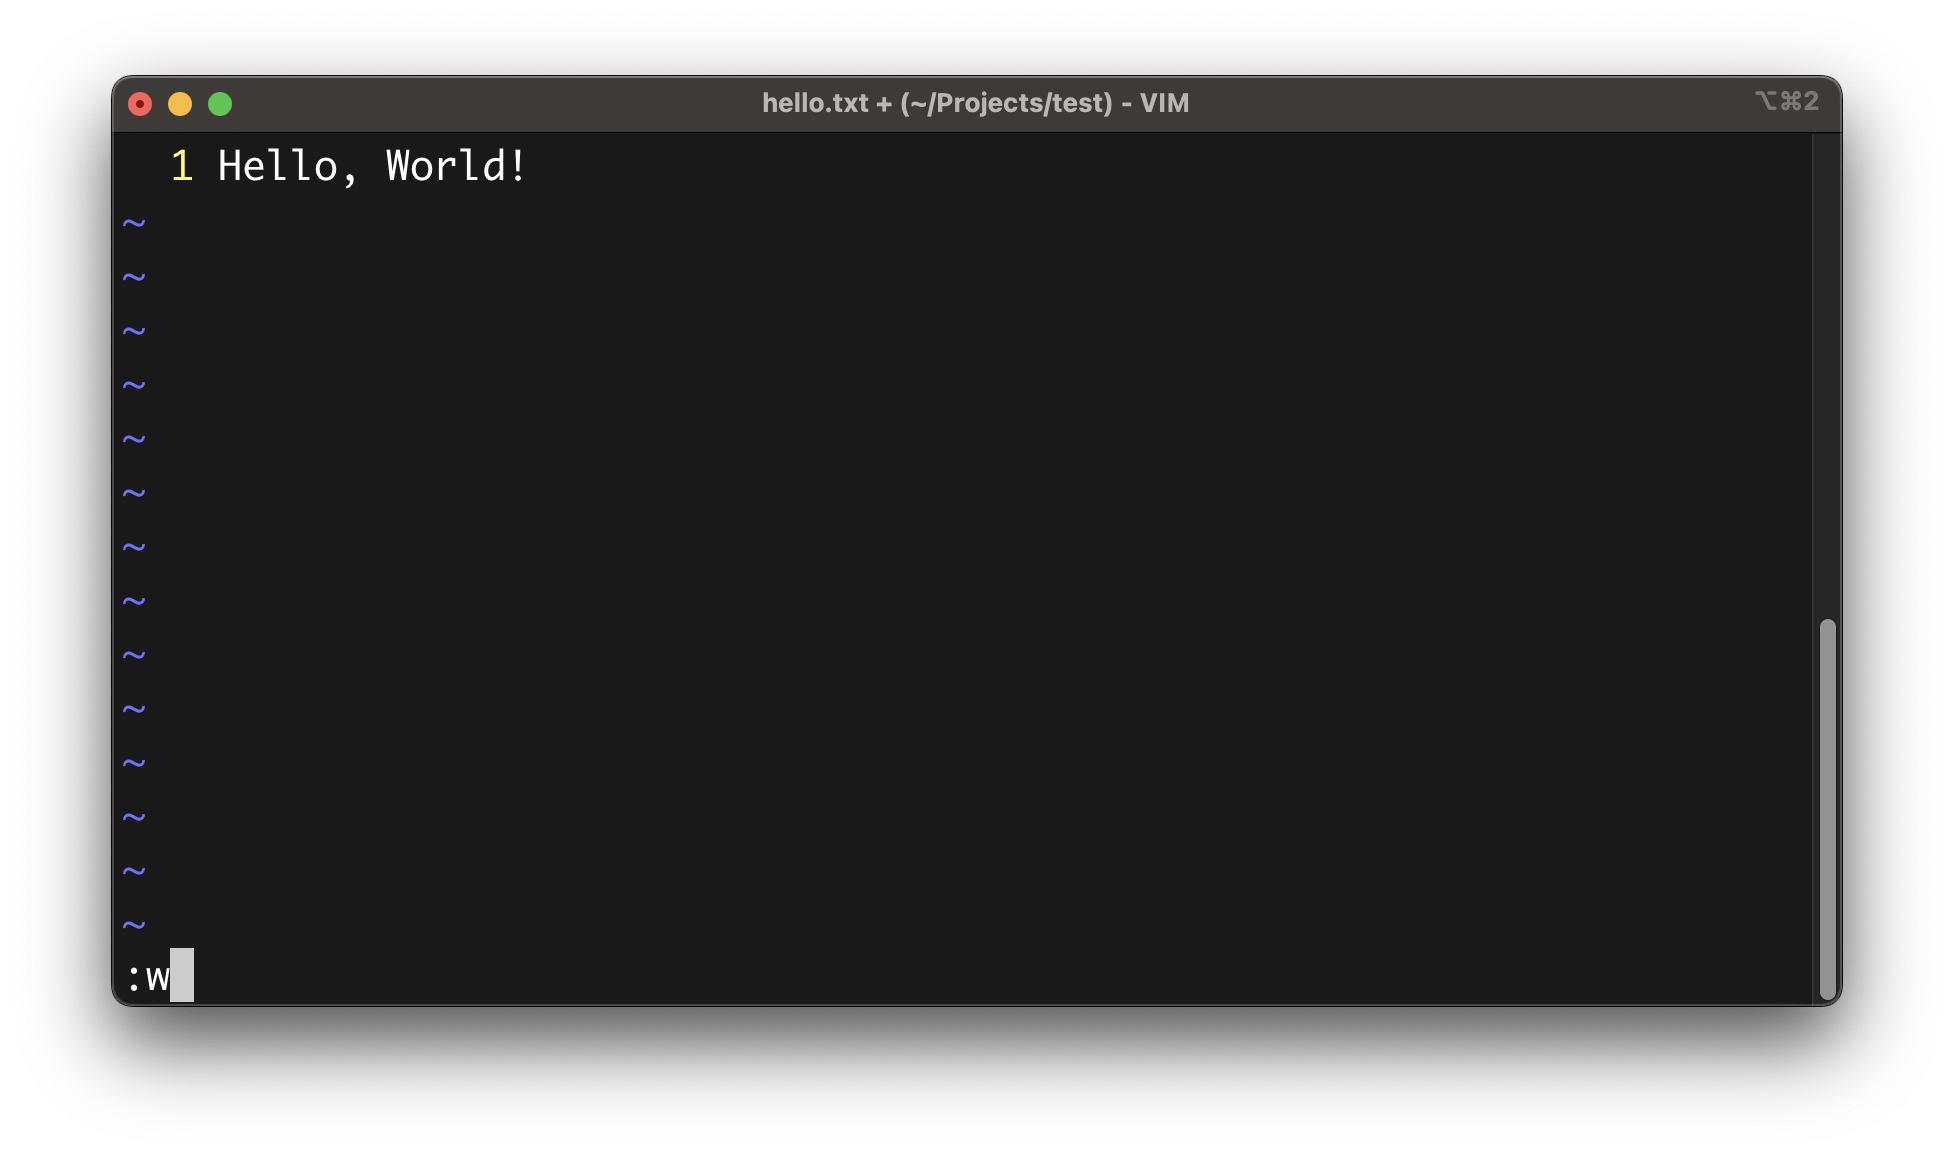
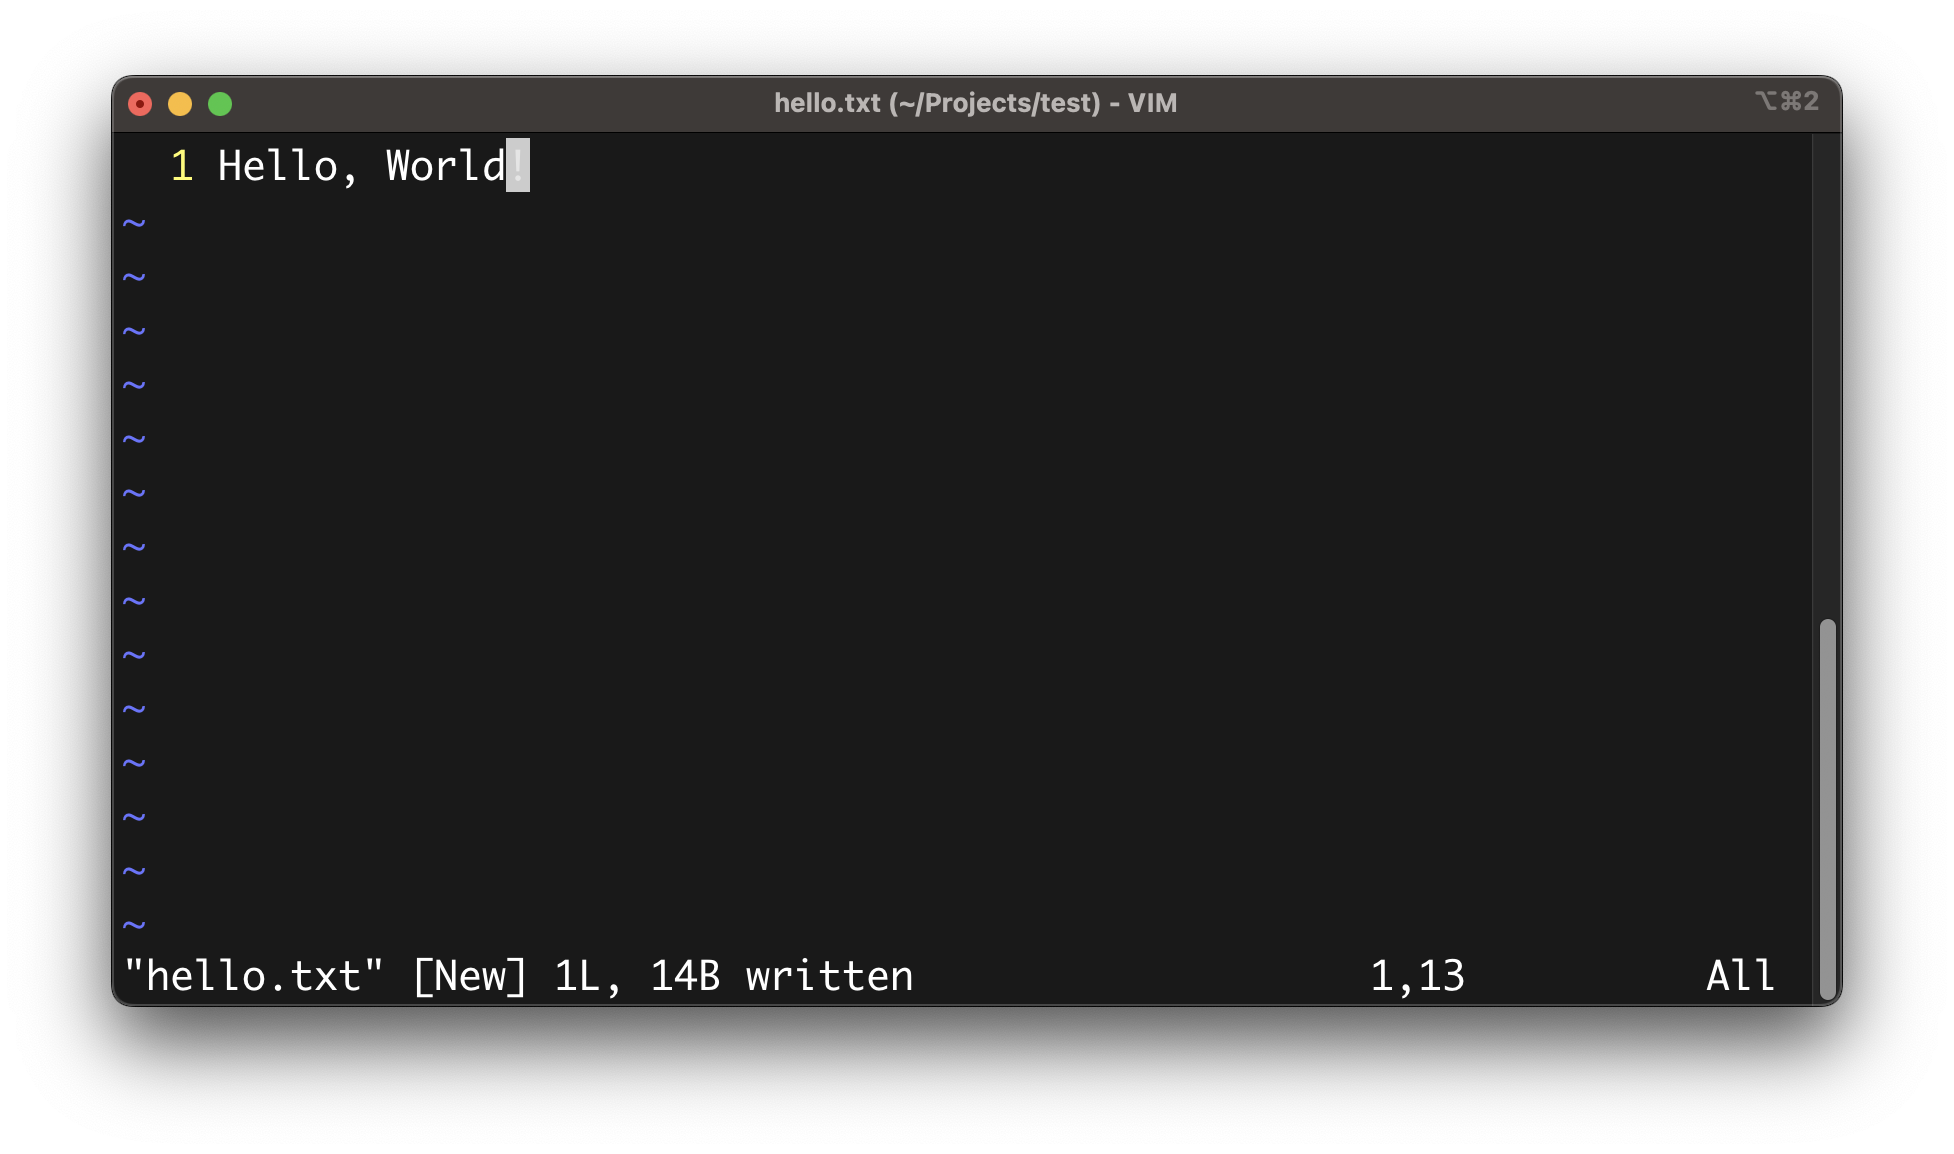
Finally, you can press the ENTER key to execute the w command, which will make Vim write the following message at the bottom of the window indicating the number of lines (1L) and the amount of bytes (14B) written into the hello.txt file, confirming that the file was successfully saved.
Quitting the editor
To quit Vim, you need to enter the command mode again by pressing the : key, followed by the q character (short for quit), and press the ENTER key to execute the command.
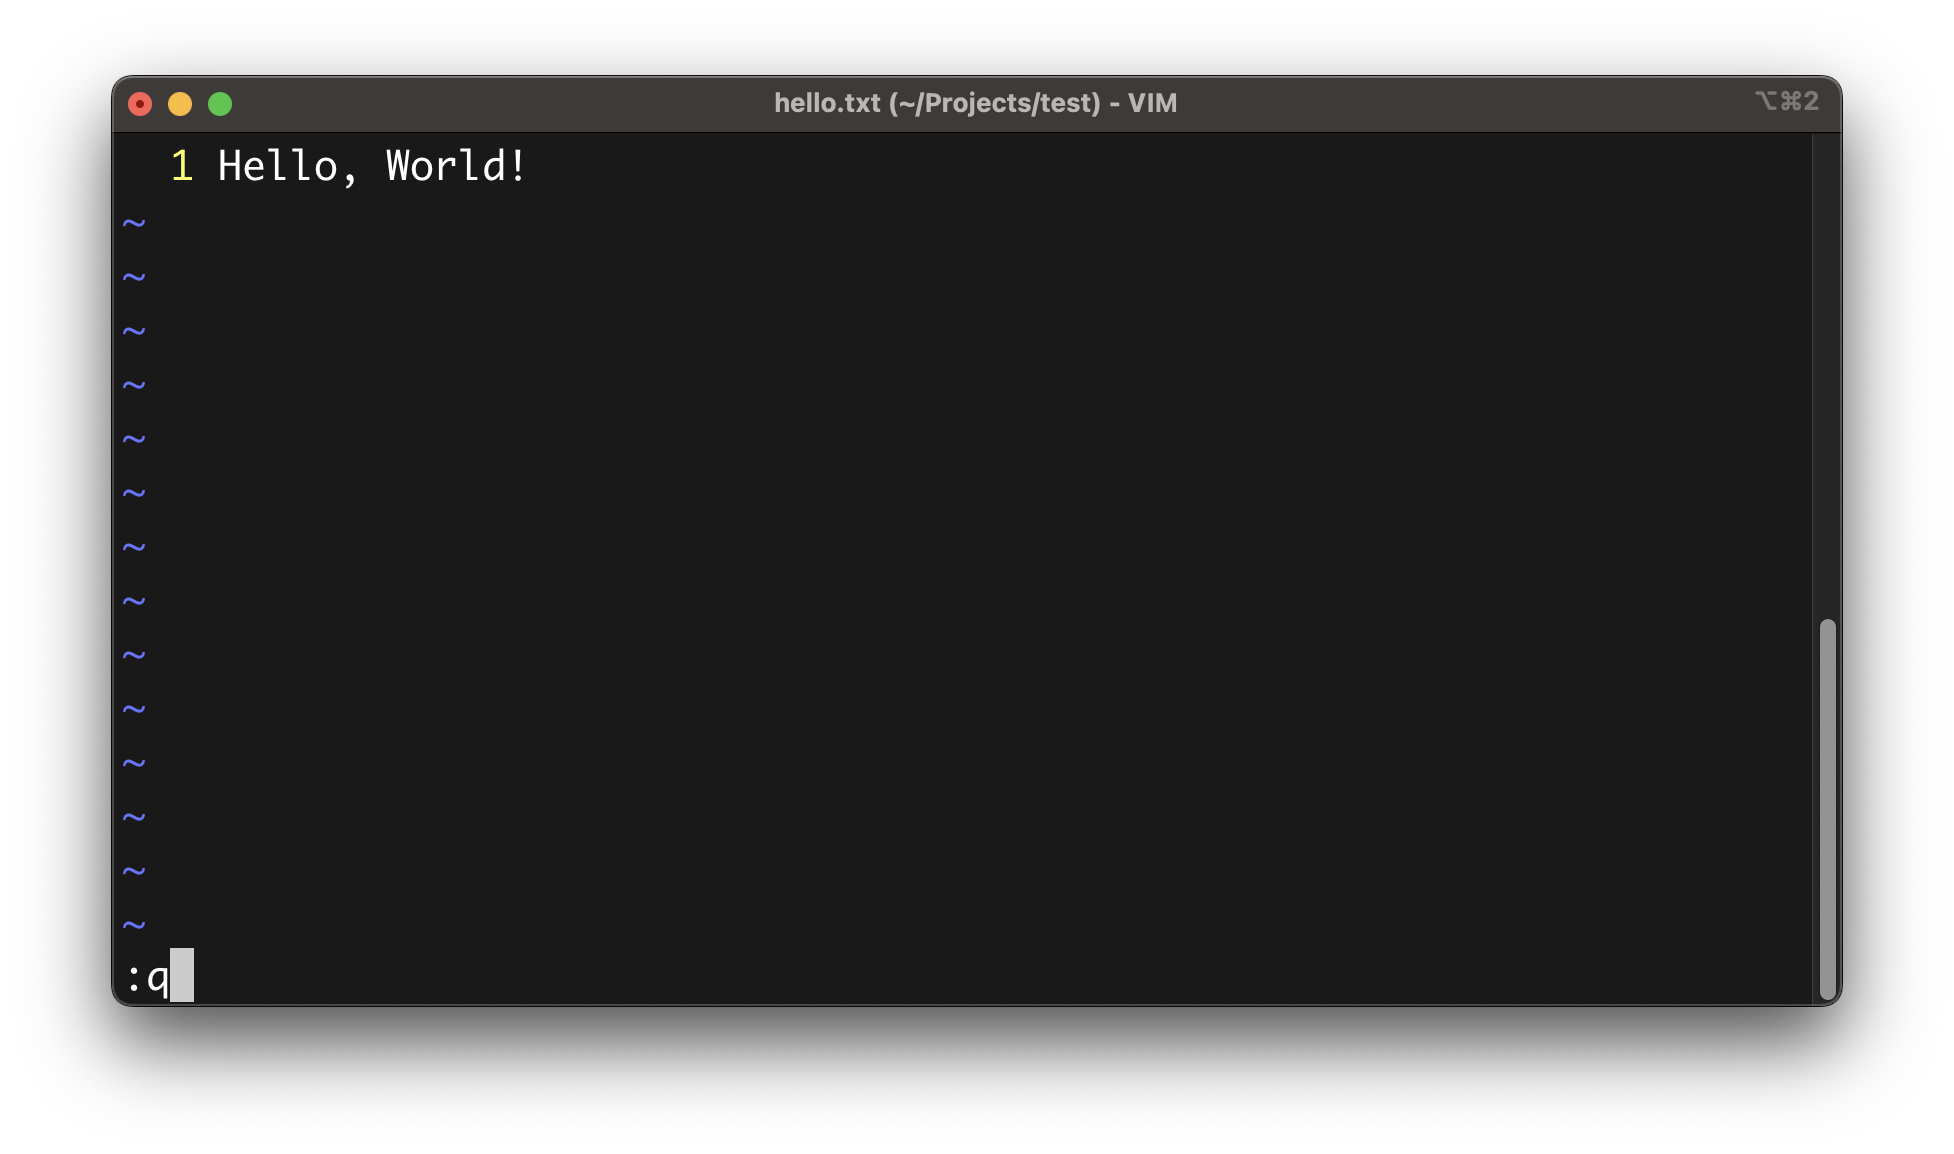
Once the editor is closed, you should see reappearing the prompt of your original shell session.
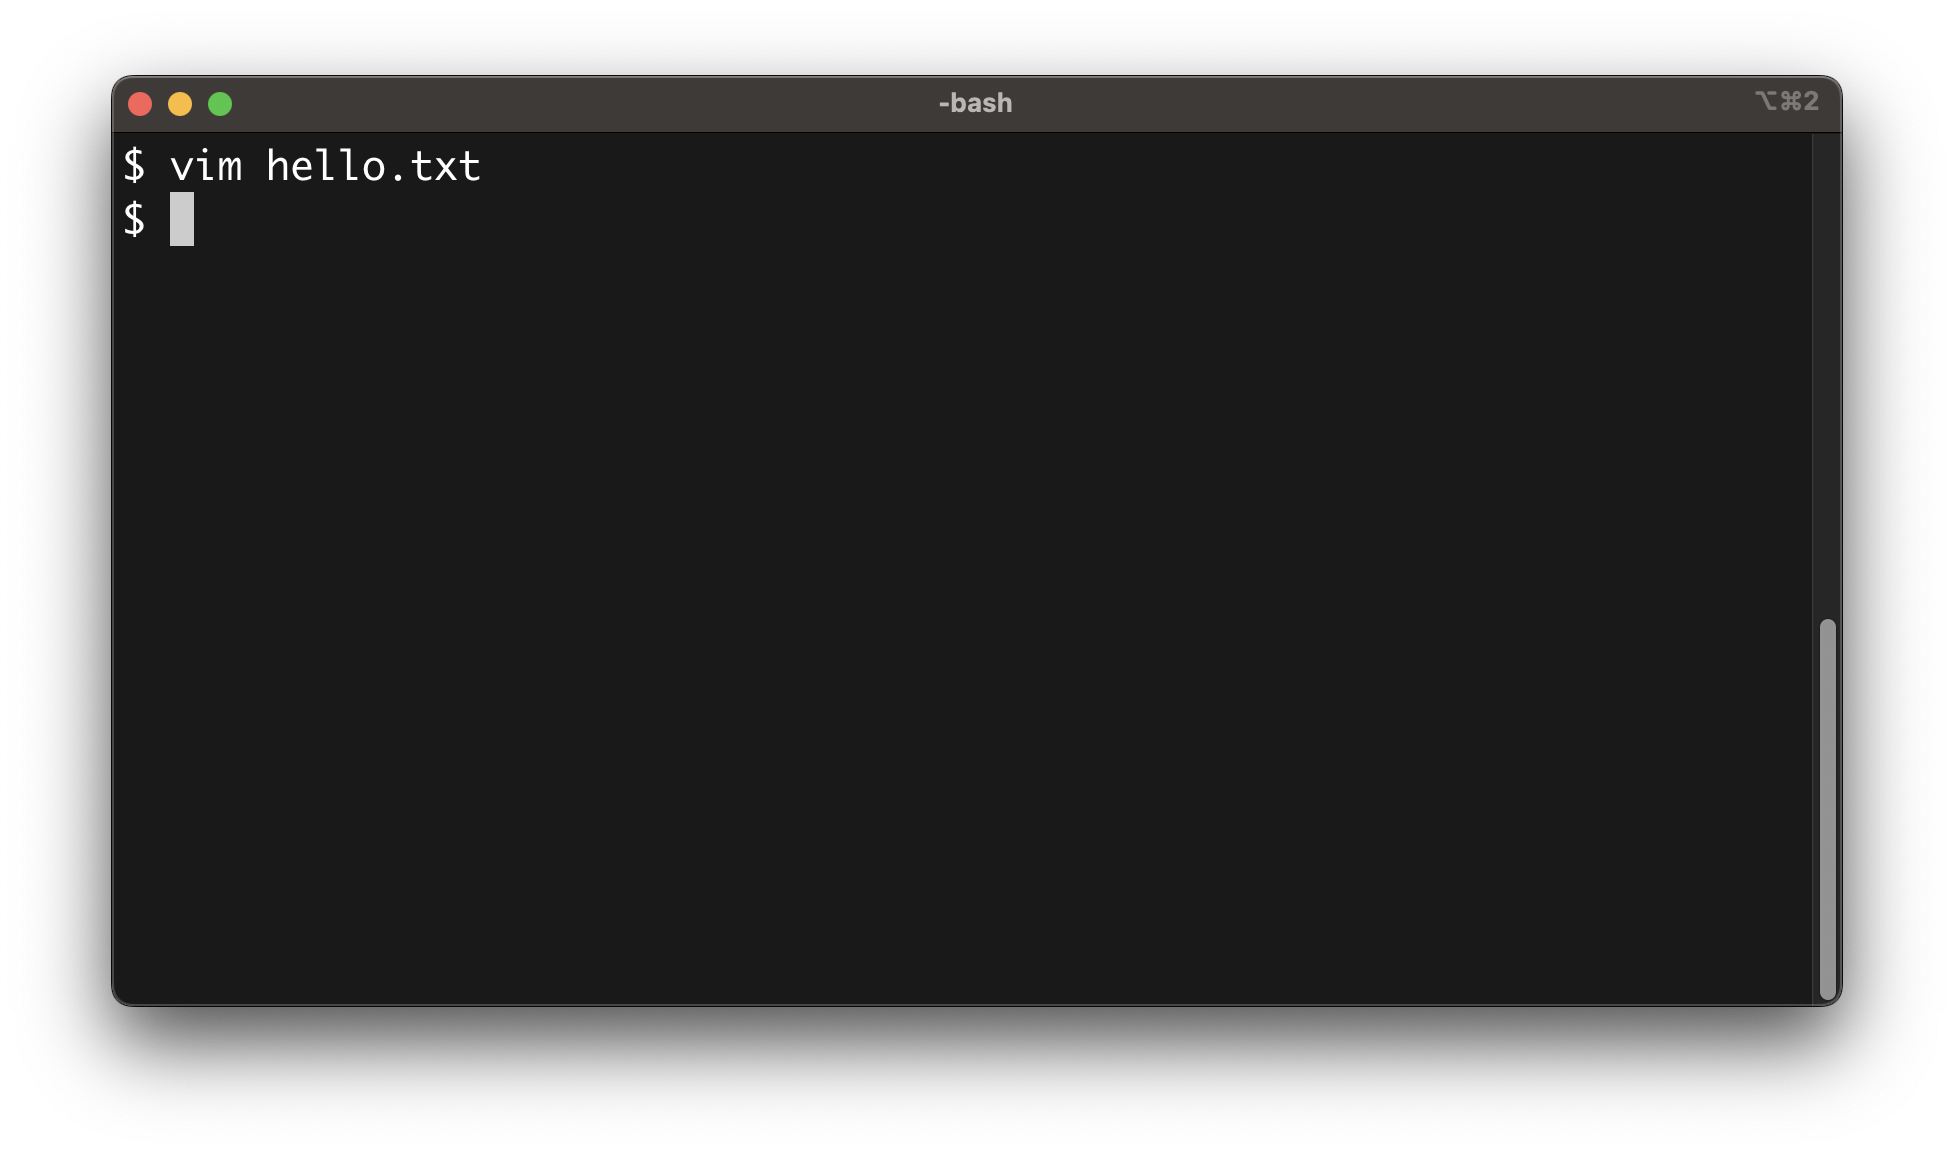
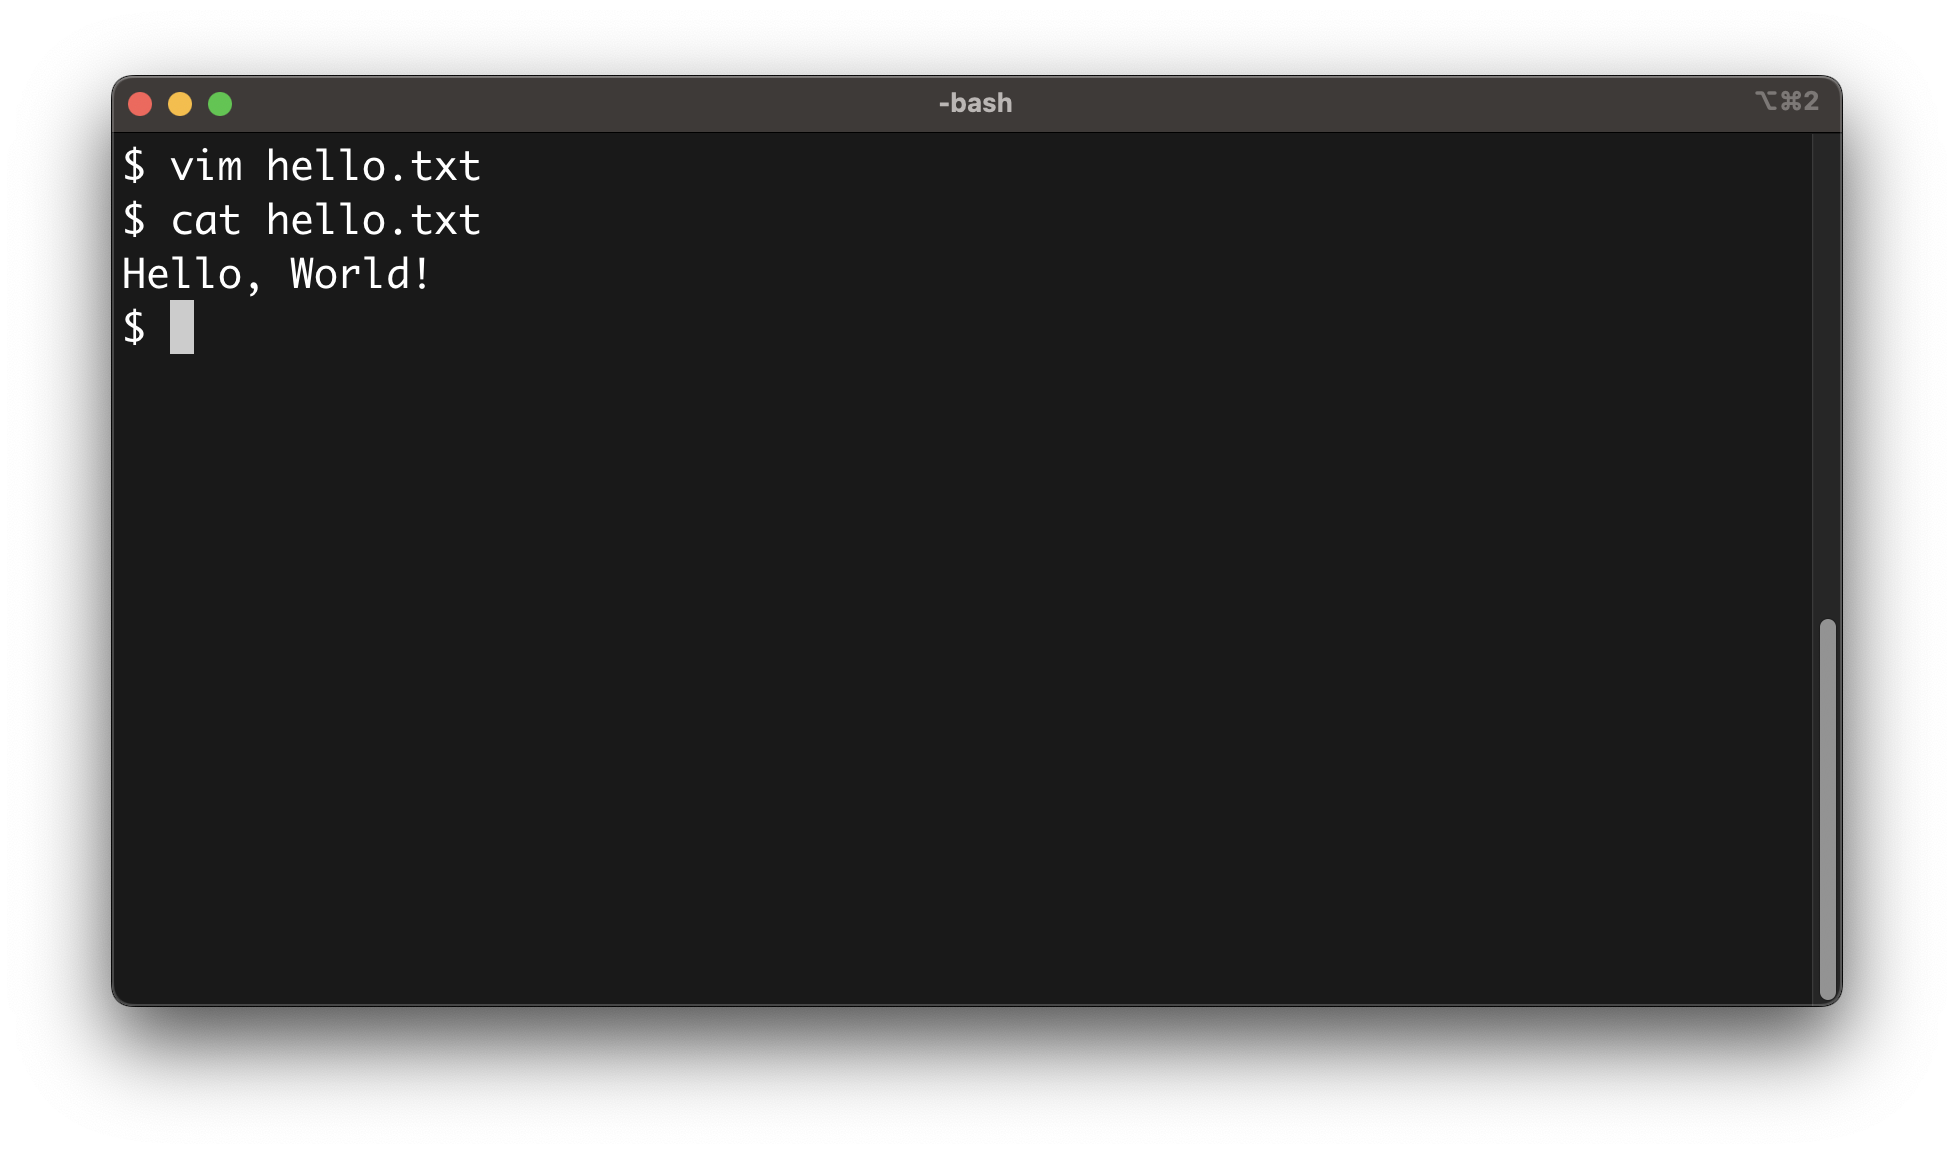
Allowing you to display the context of the hello.txt file you've just created using the cat command.
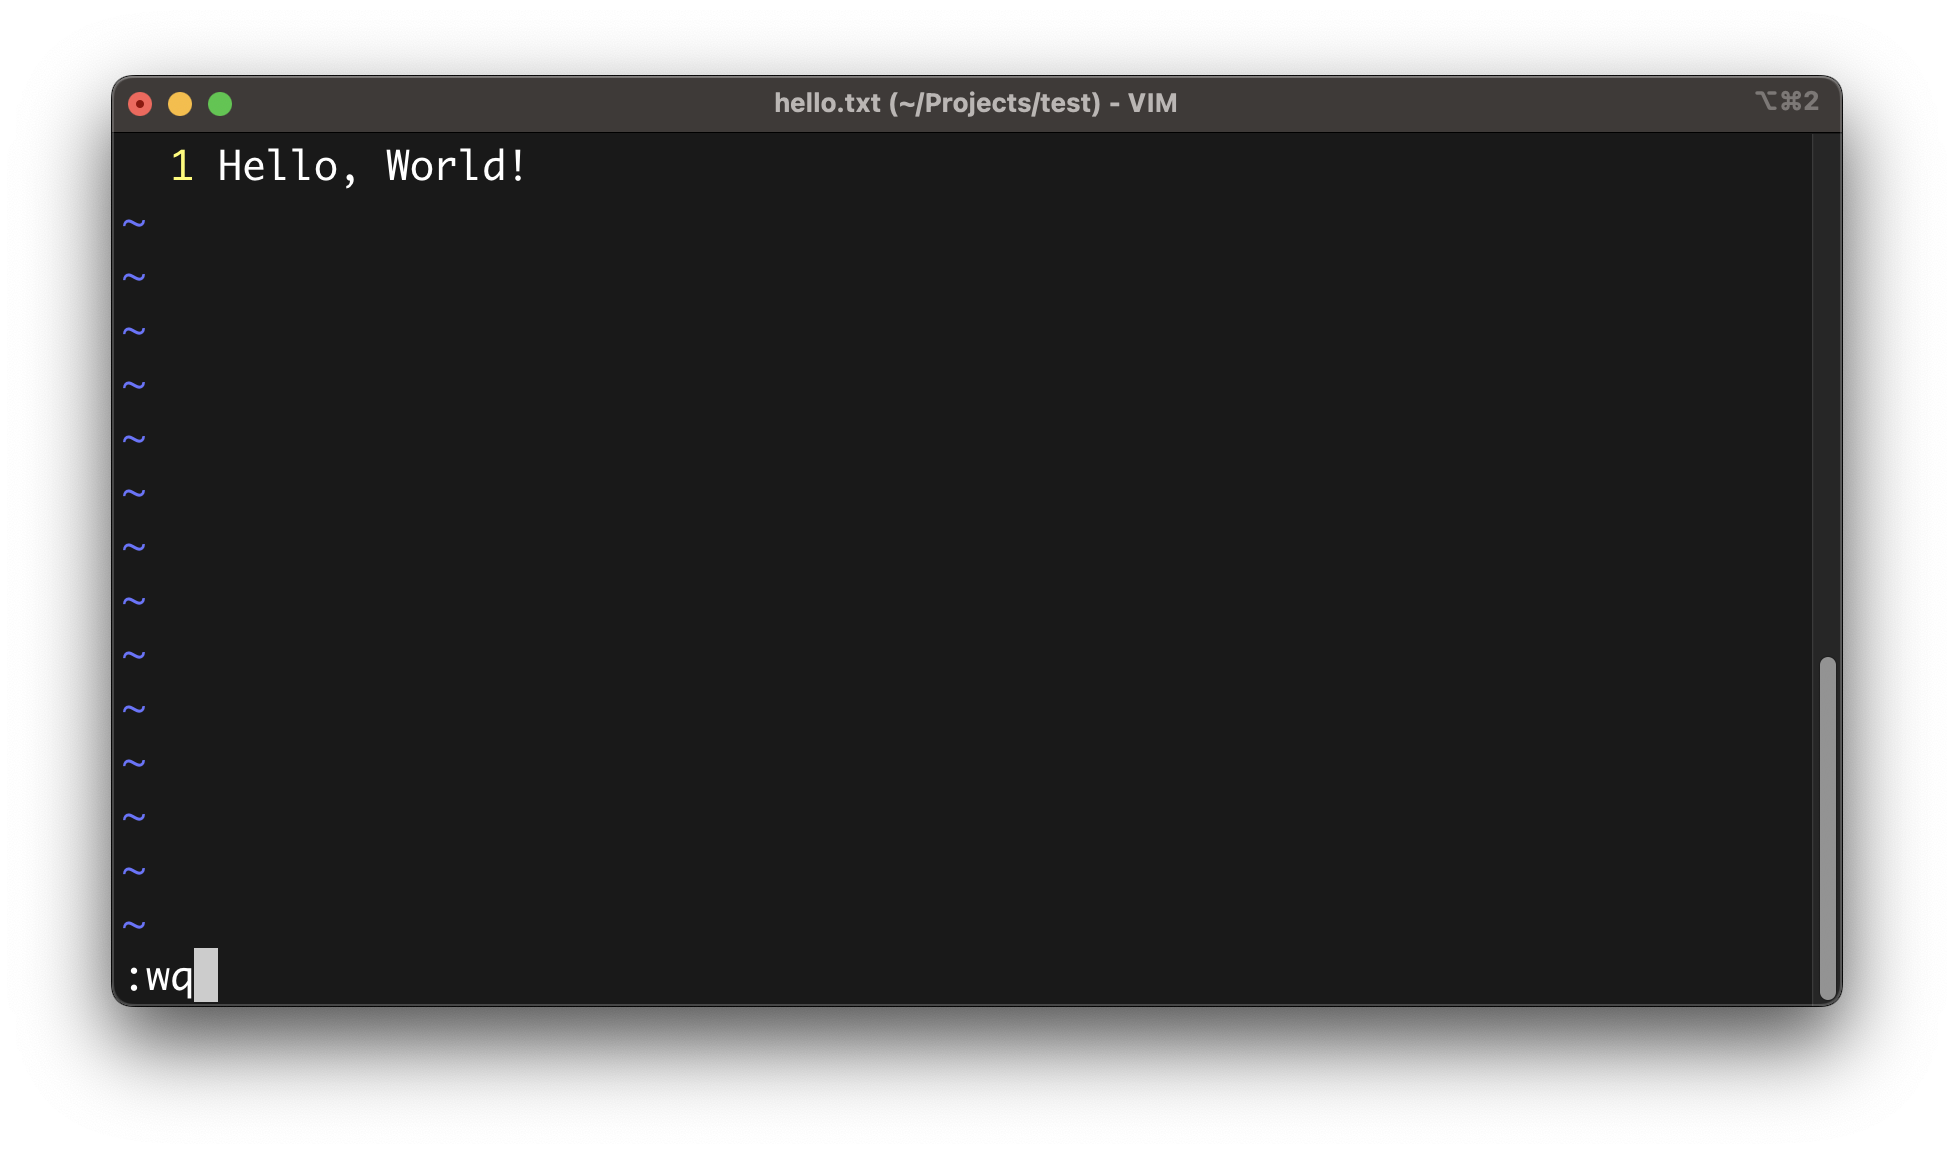
Saving and quitting simultaneously
To save the changes made to a file and quit the editor at once, you can press the : key and combine the w and q commands, and press the ENTER key to execute both of them:
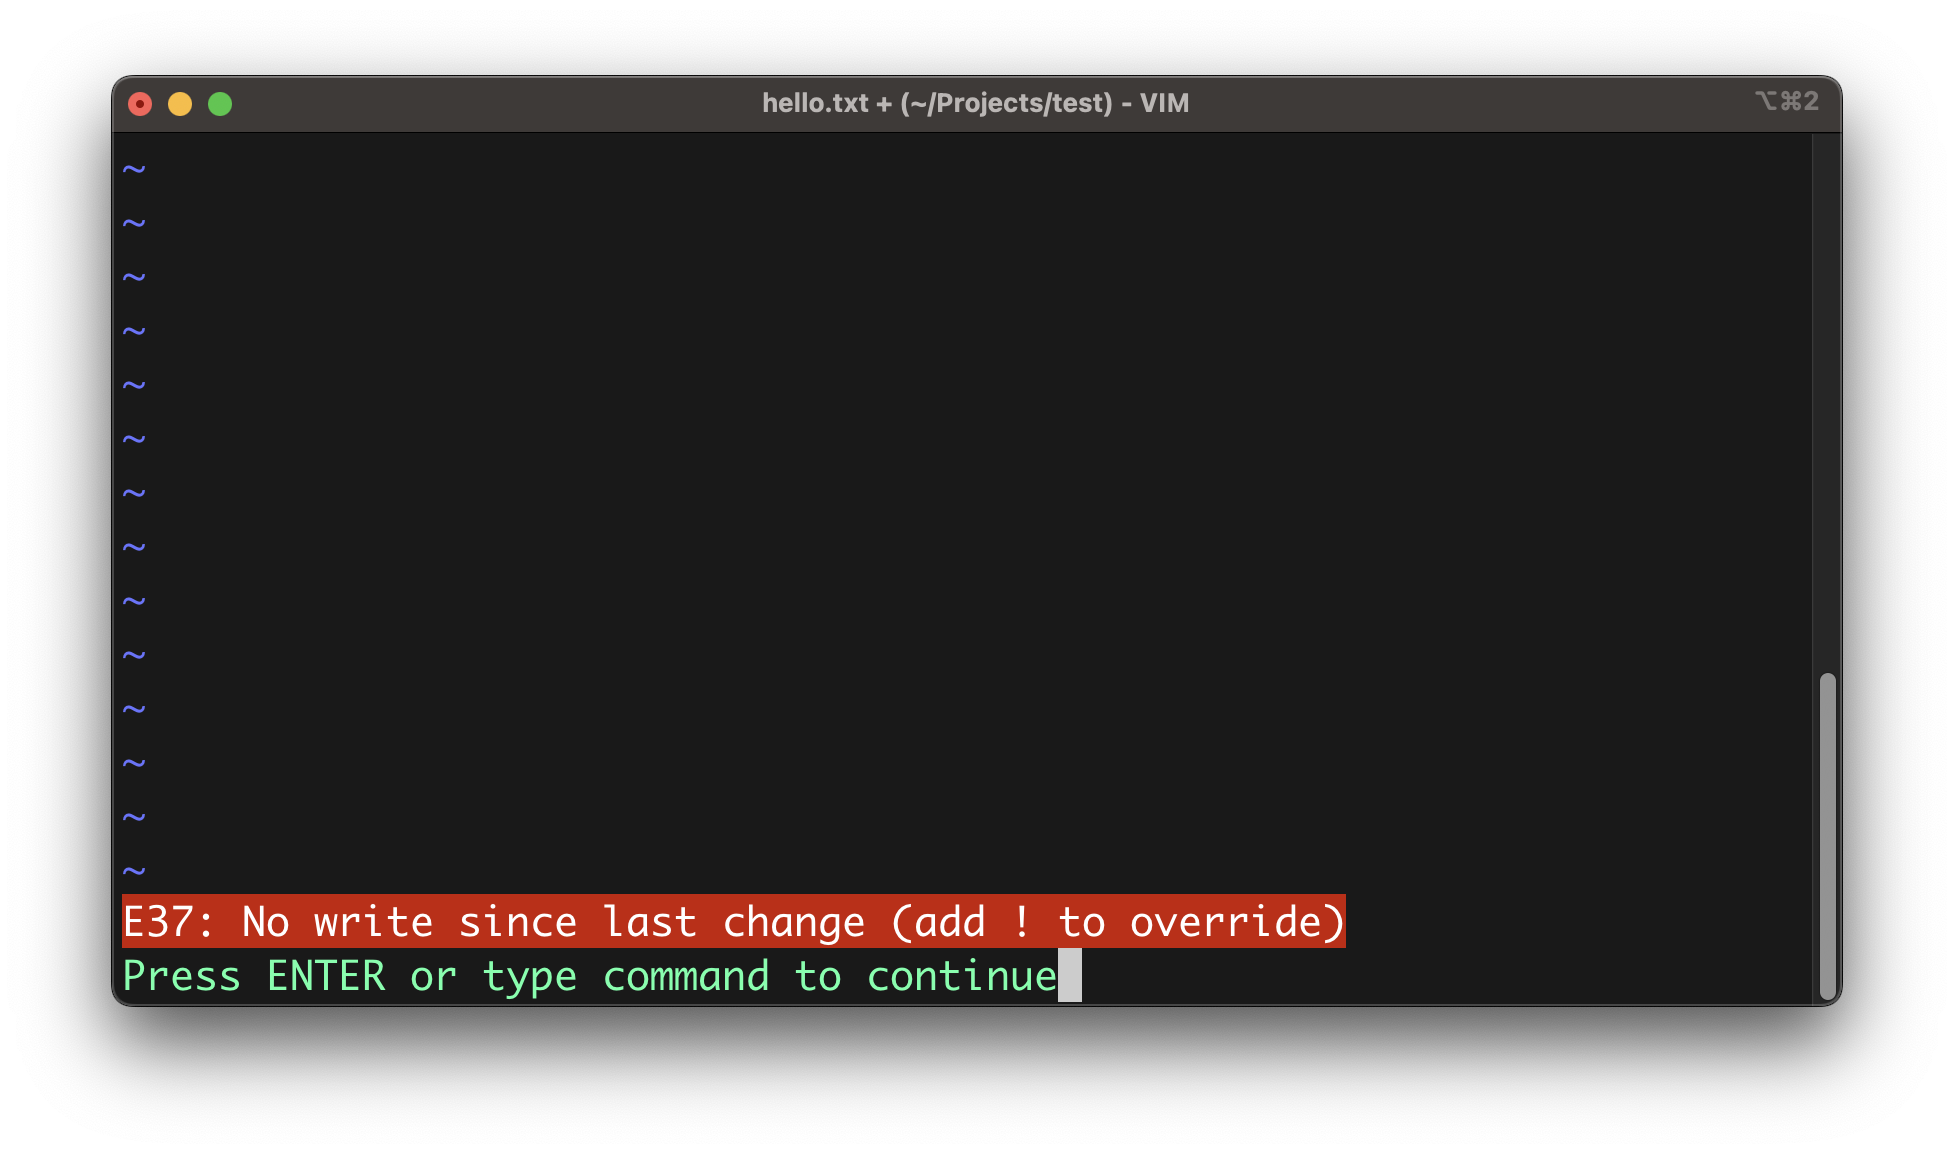
Quitting the editor without saving changes
By default, when trying to quit the editor without saving changes, Vim will output an error message at the bottom left of the screen, which translates to "the latest changes haven't been written to the file":
To force Vim to discard the changes and quit anyway, you can override the default behavior of the q command by appending a ! to it, and press the ENTER key to execute it:
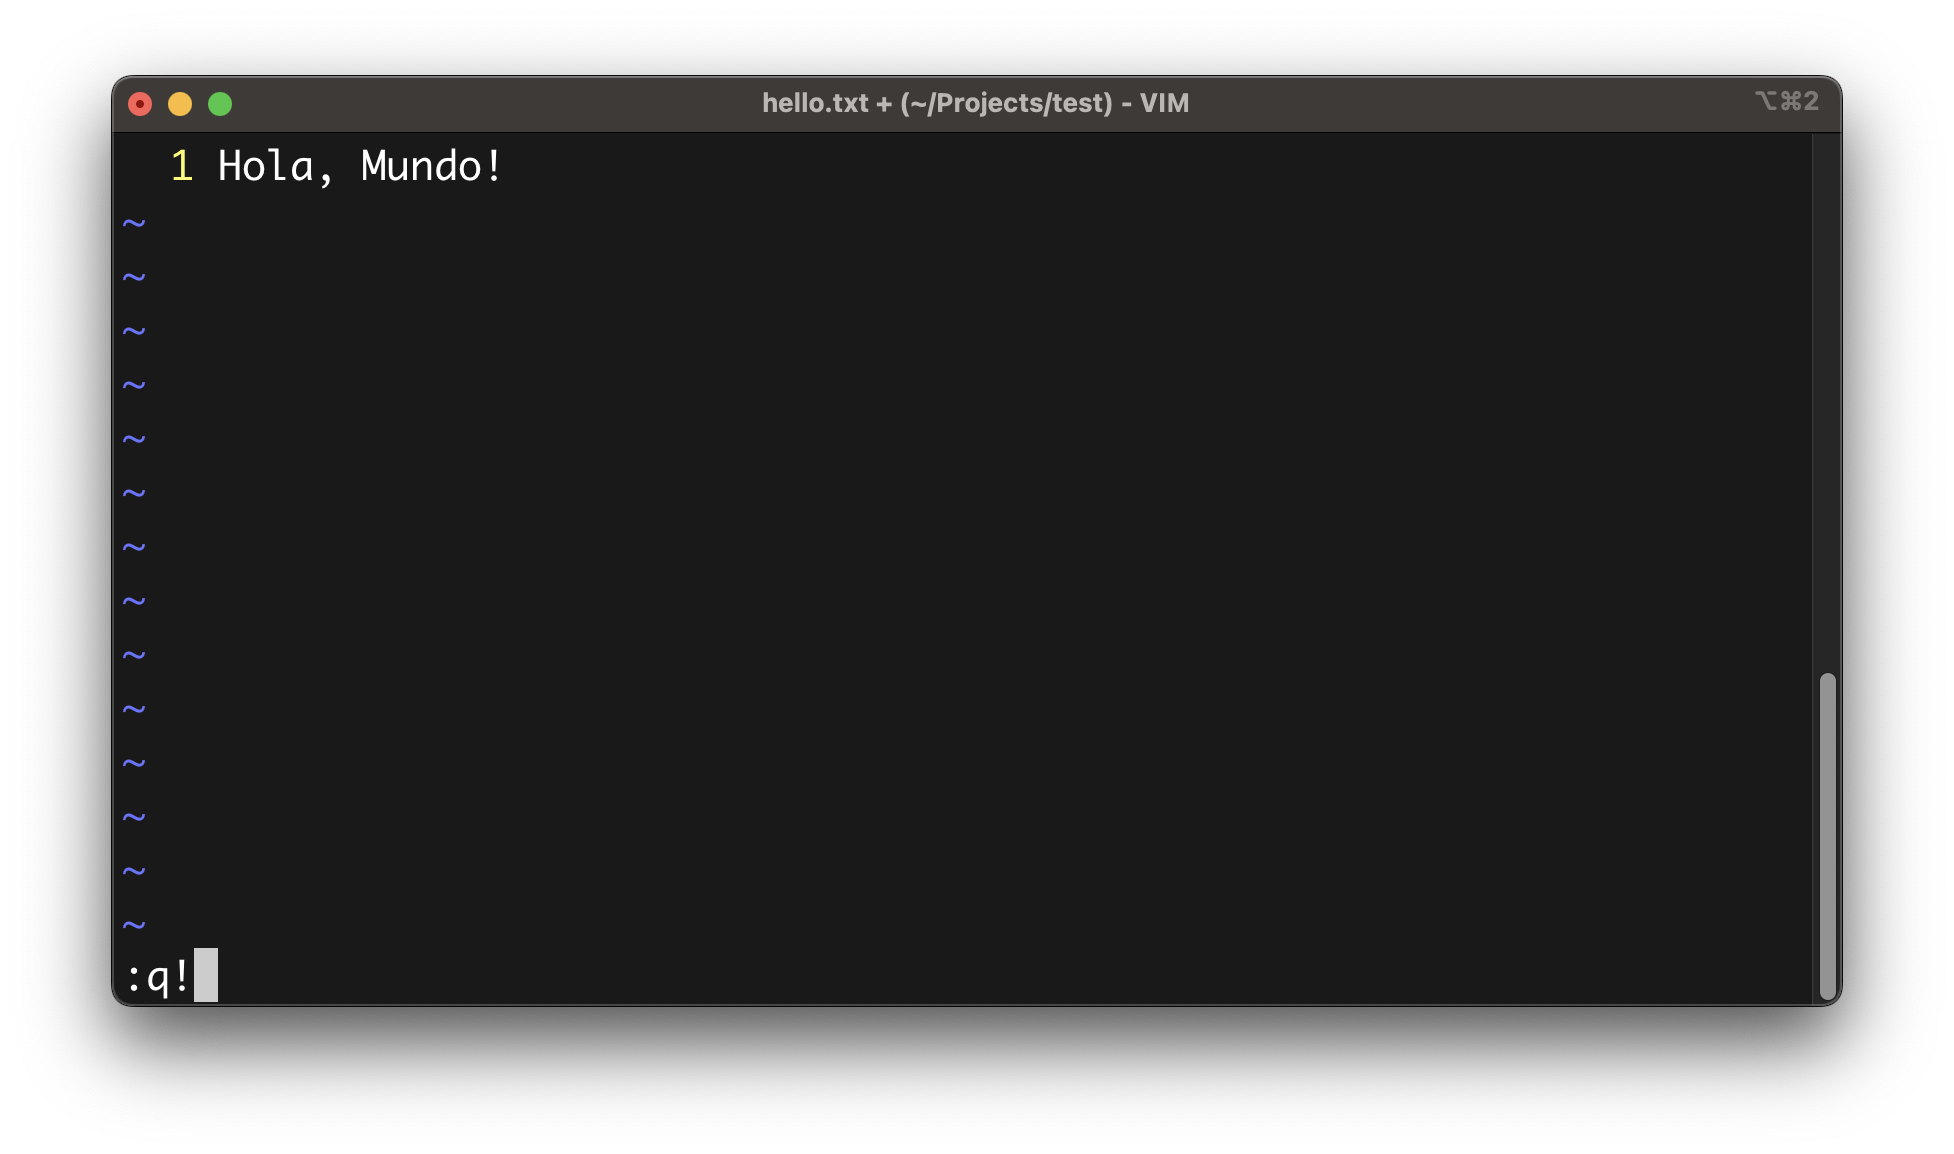
Editing files
In Vim, most of the editing is done in the Normal mode using shortcuts.
Copying words and lines
Here is a shortlist of the most useful shortcuts for copying (or yanking) words and lines:
y+w: copy the current word the cursor is on.y+^: copy from the cursor to the beginning of the line.y+$: copy from the cursor to the end of the line/y+y: copy the current line.y+#+UPorDOWN: copy the current line, plus#lines up or down.
For example, if the cursor is at the beginning of the 3rd line, pressing the y key twice (i.e. y + y) will copy the entire line into the editor's internal buffer.
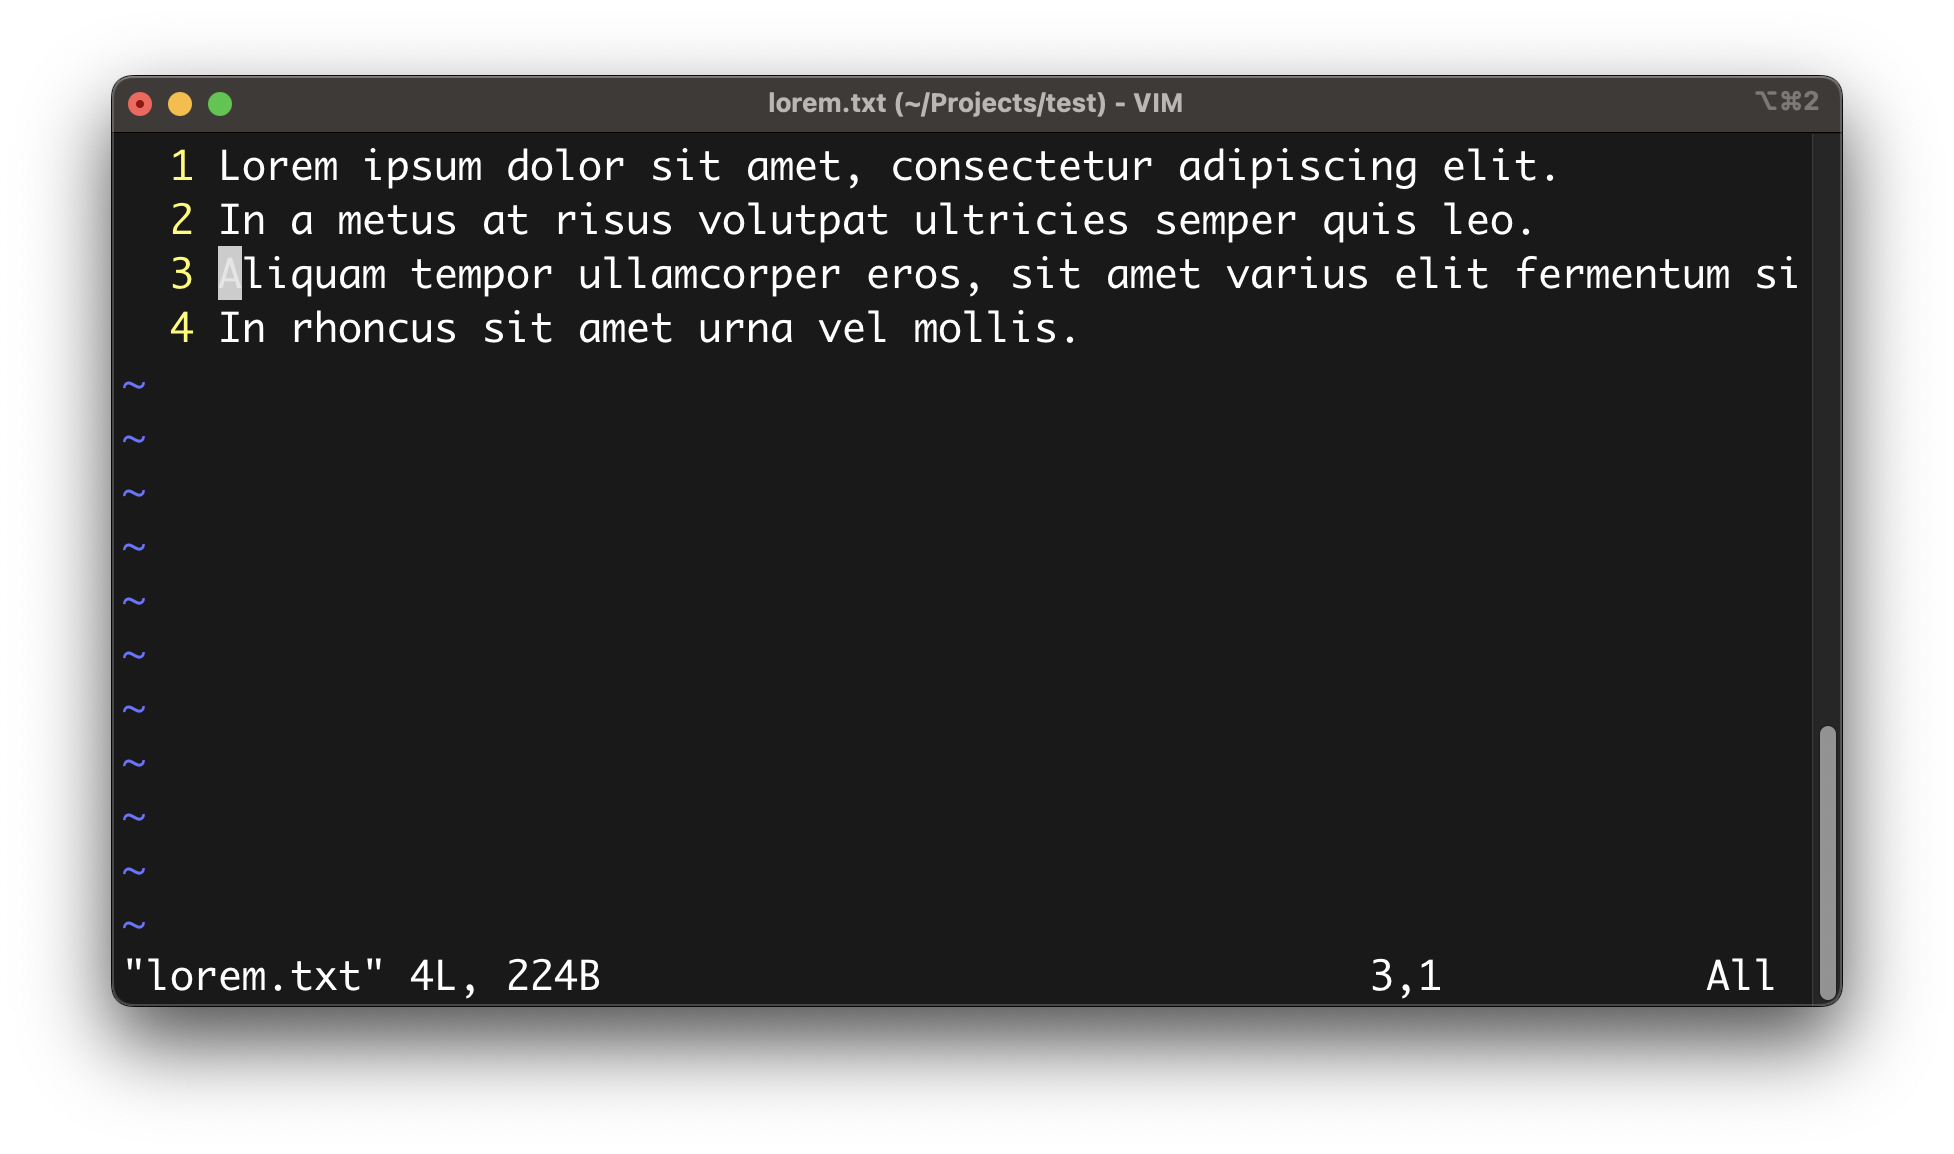
Cutting words and lines
Here is a shortlist of the most useful shortcuts for cutting words and lines:
d+w: cut the current word.d+^: cut from the cursor to the beginning of the line.d+$: cut from the cursor to the end of the line.d+d: cut the current line.d+#+UPorDOWN: cut the current line, plus#lines up or down.
For example, if the cursor is at the beginning of the 3rd line, pressing the d key, then the 1 key, and then the DOWN key, will cut the current line plus the one below it.
Resulting in the cursor moving up to the beginning of the 2nd line and the 3rd and 4th lines to be saved into the editor's internal buffer.
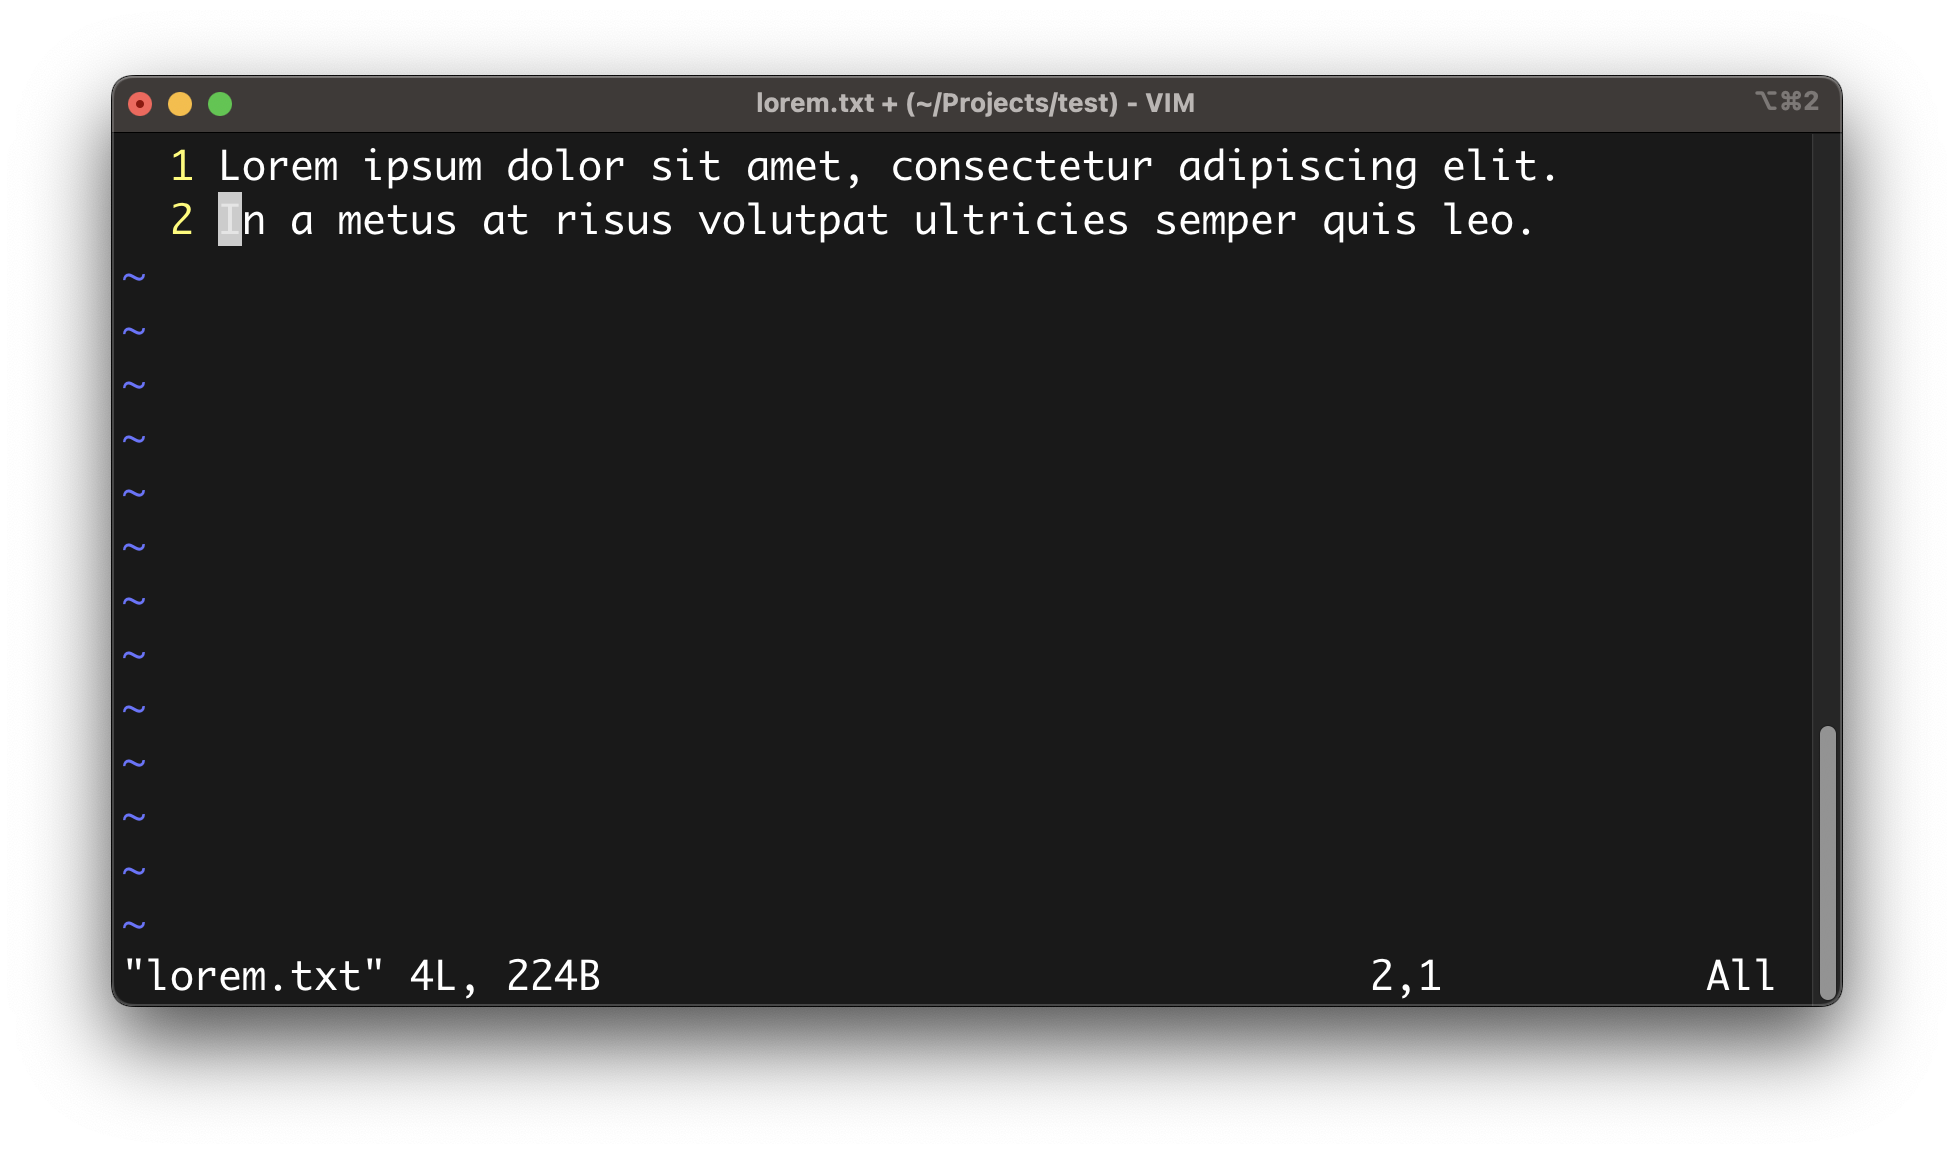
Pasting words and lines
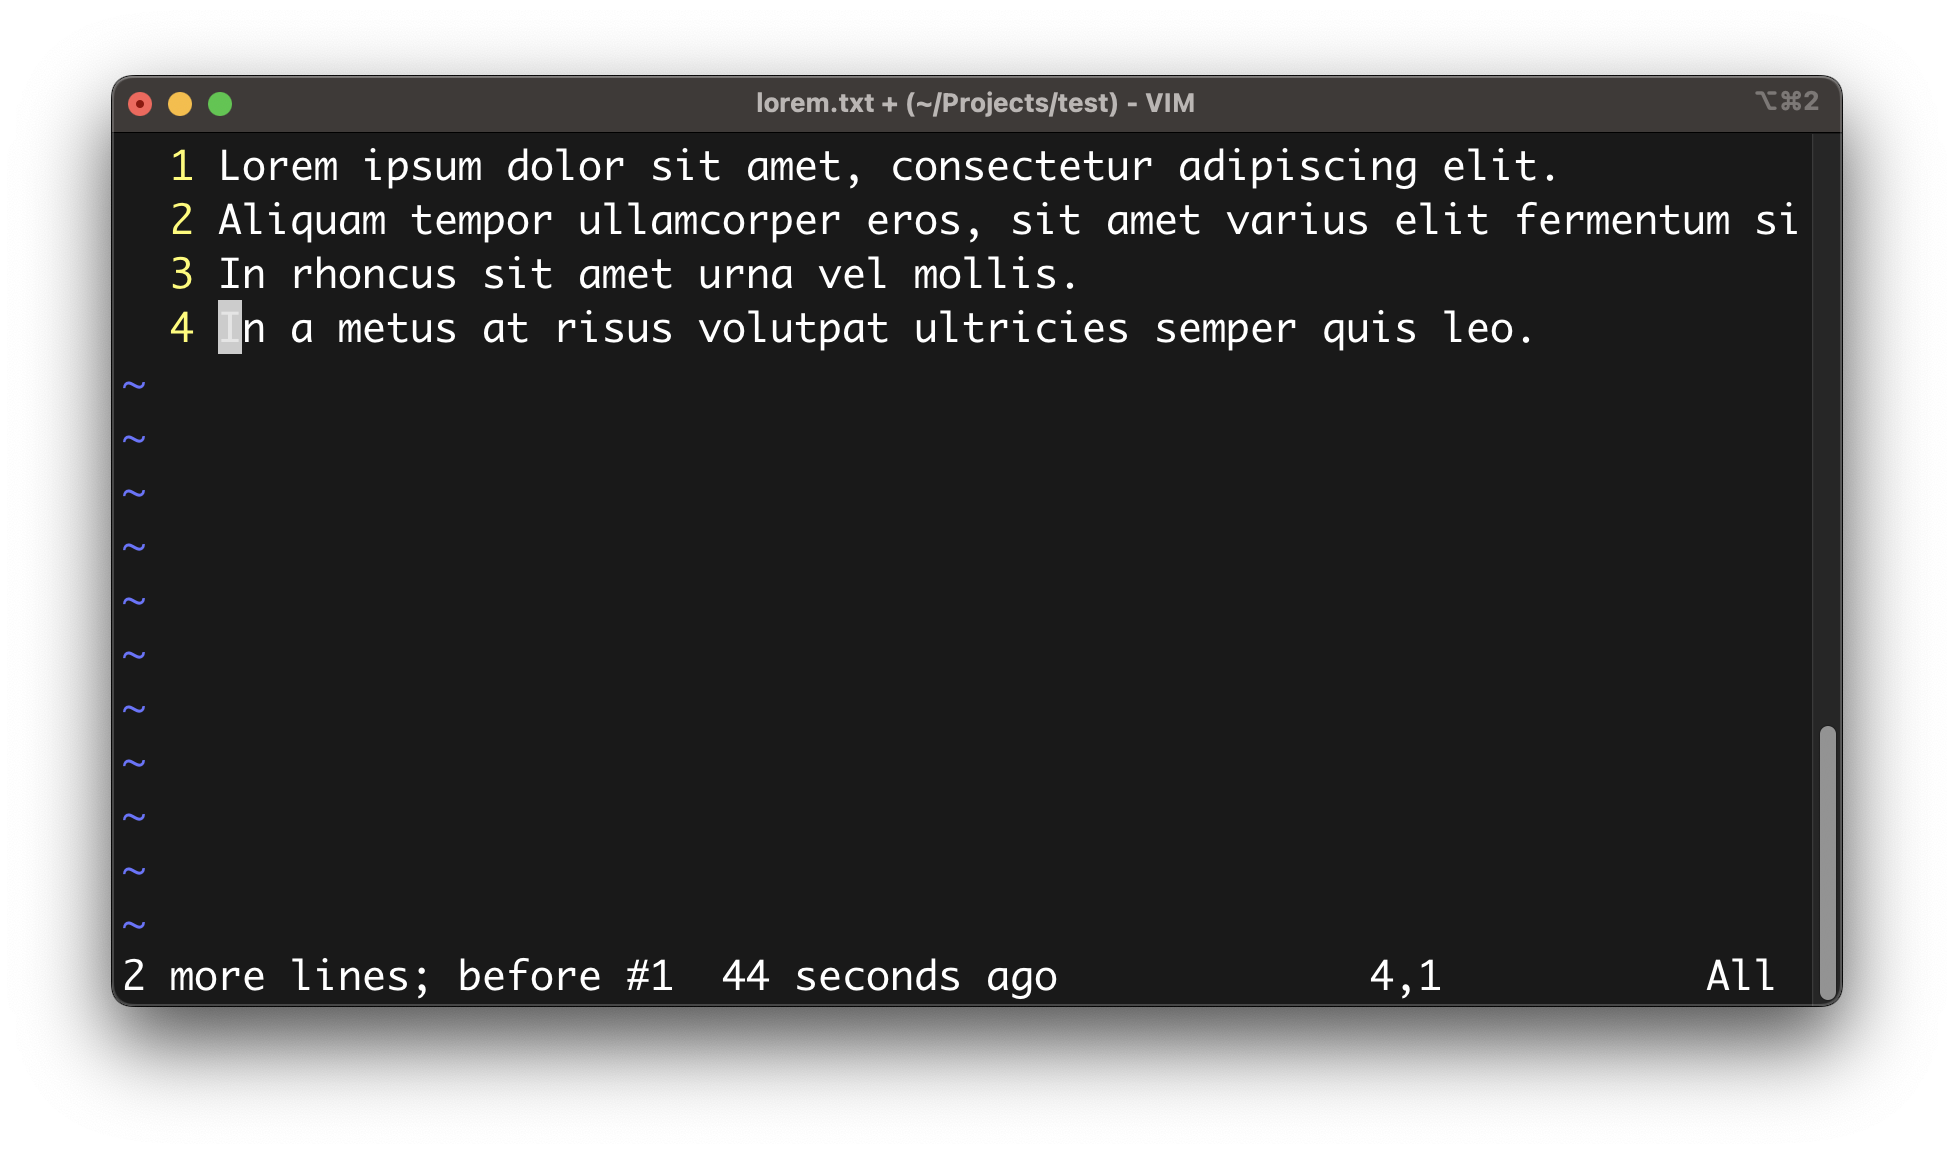
To paste the content stored in the internal buffer into the file, you can use the p or P keys.
p: paste after the cursorP: past before the cursor
For example, if the cursor is at the beginning of the 2nd line.
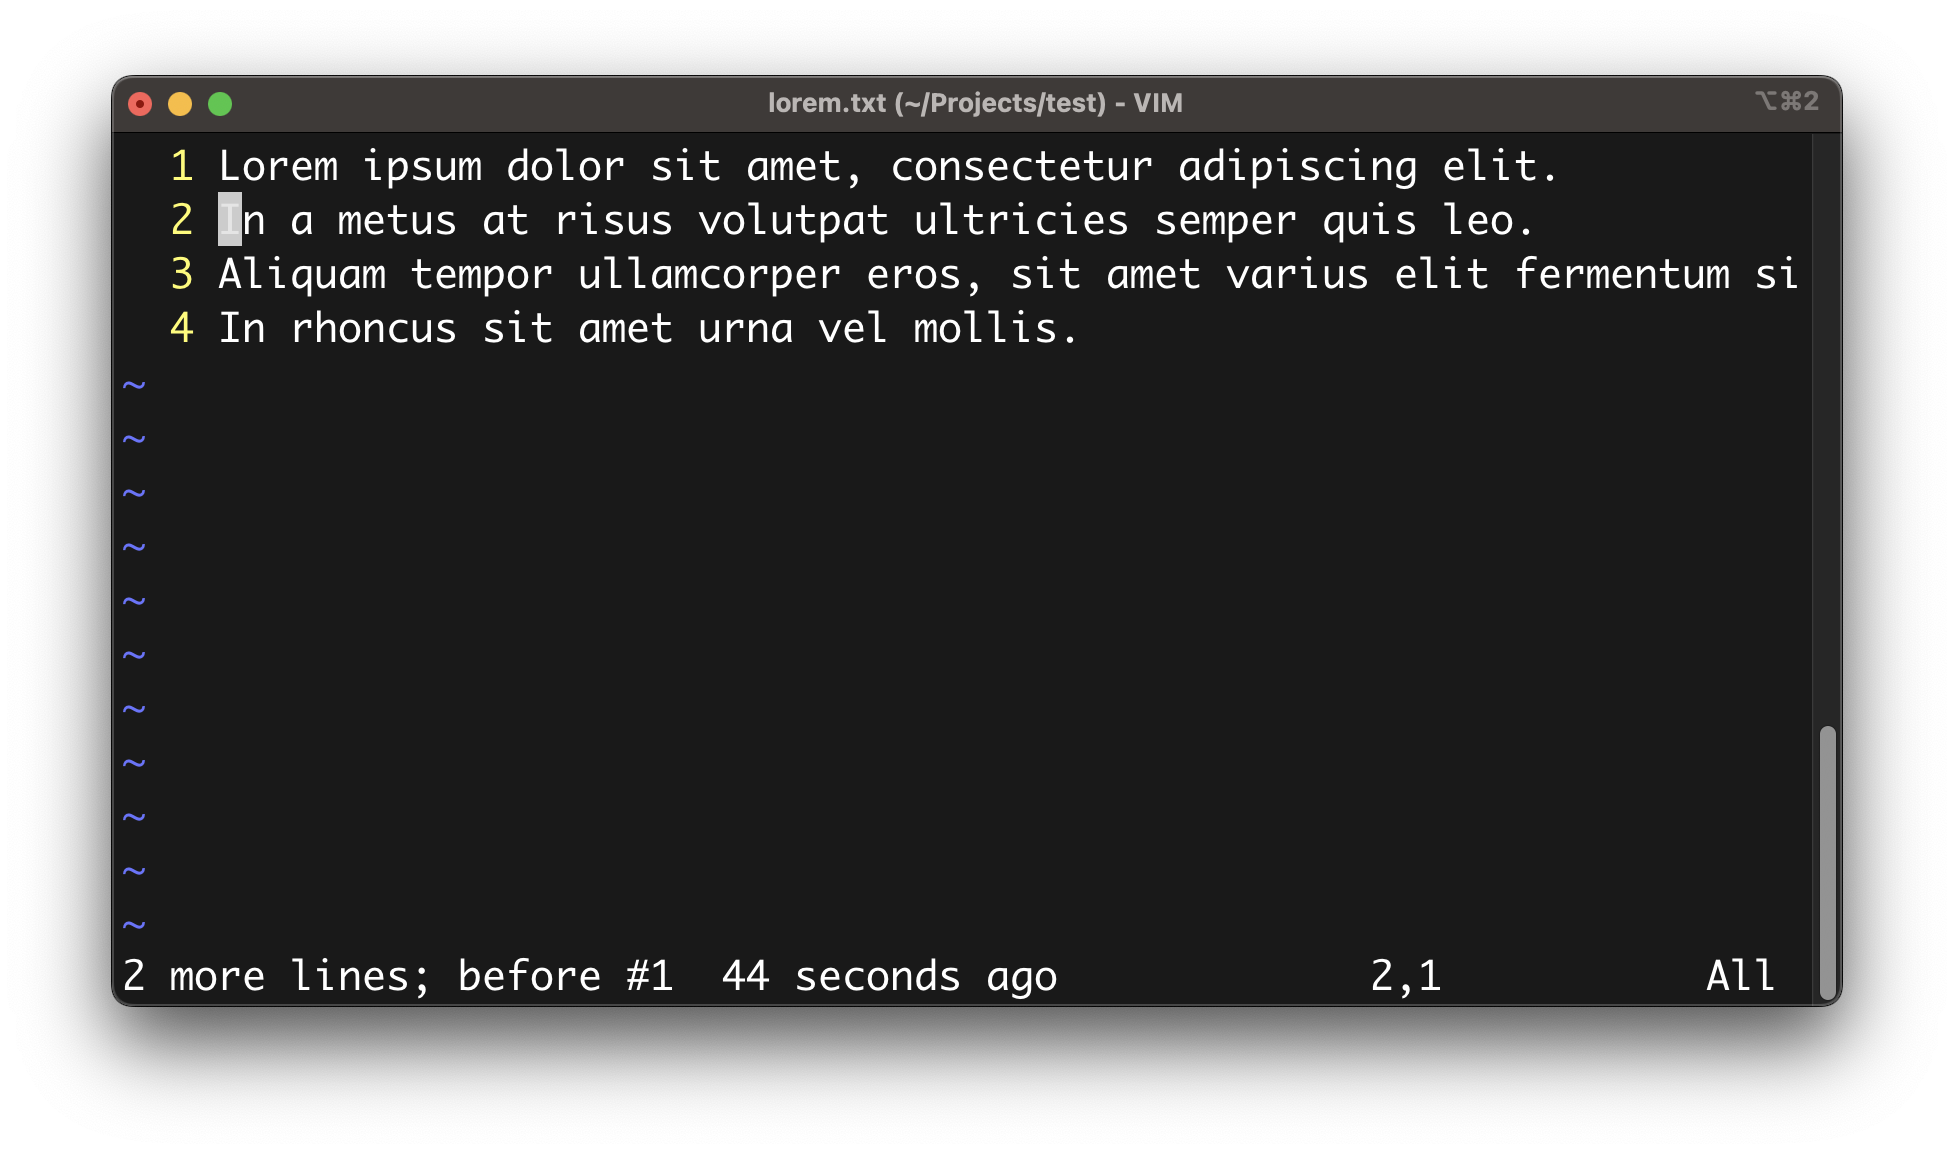
Pressing the d key twice (i.e. d + d) will cut the 2nd line and save it into the editor's internal buffer.
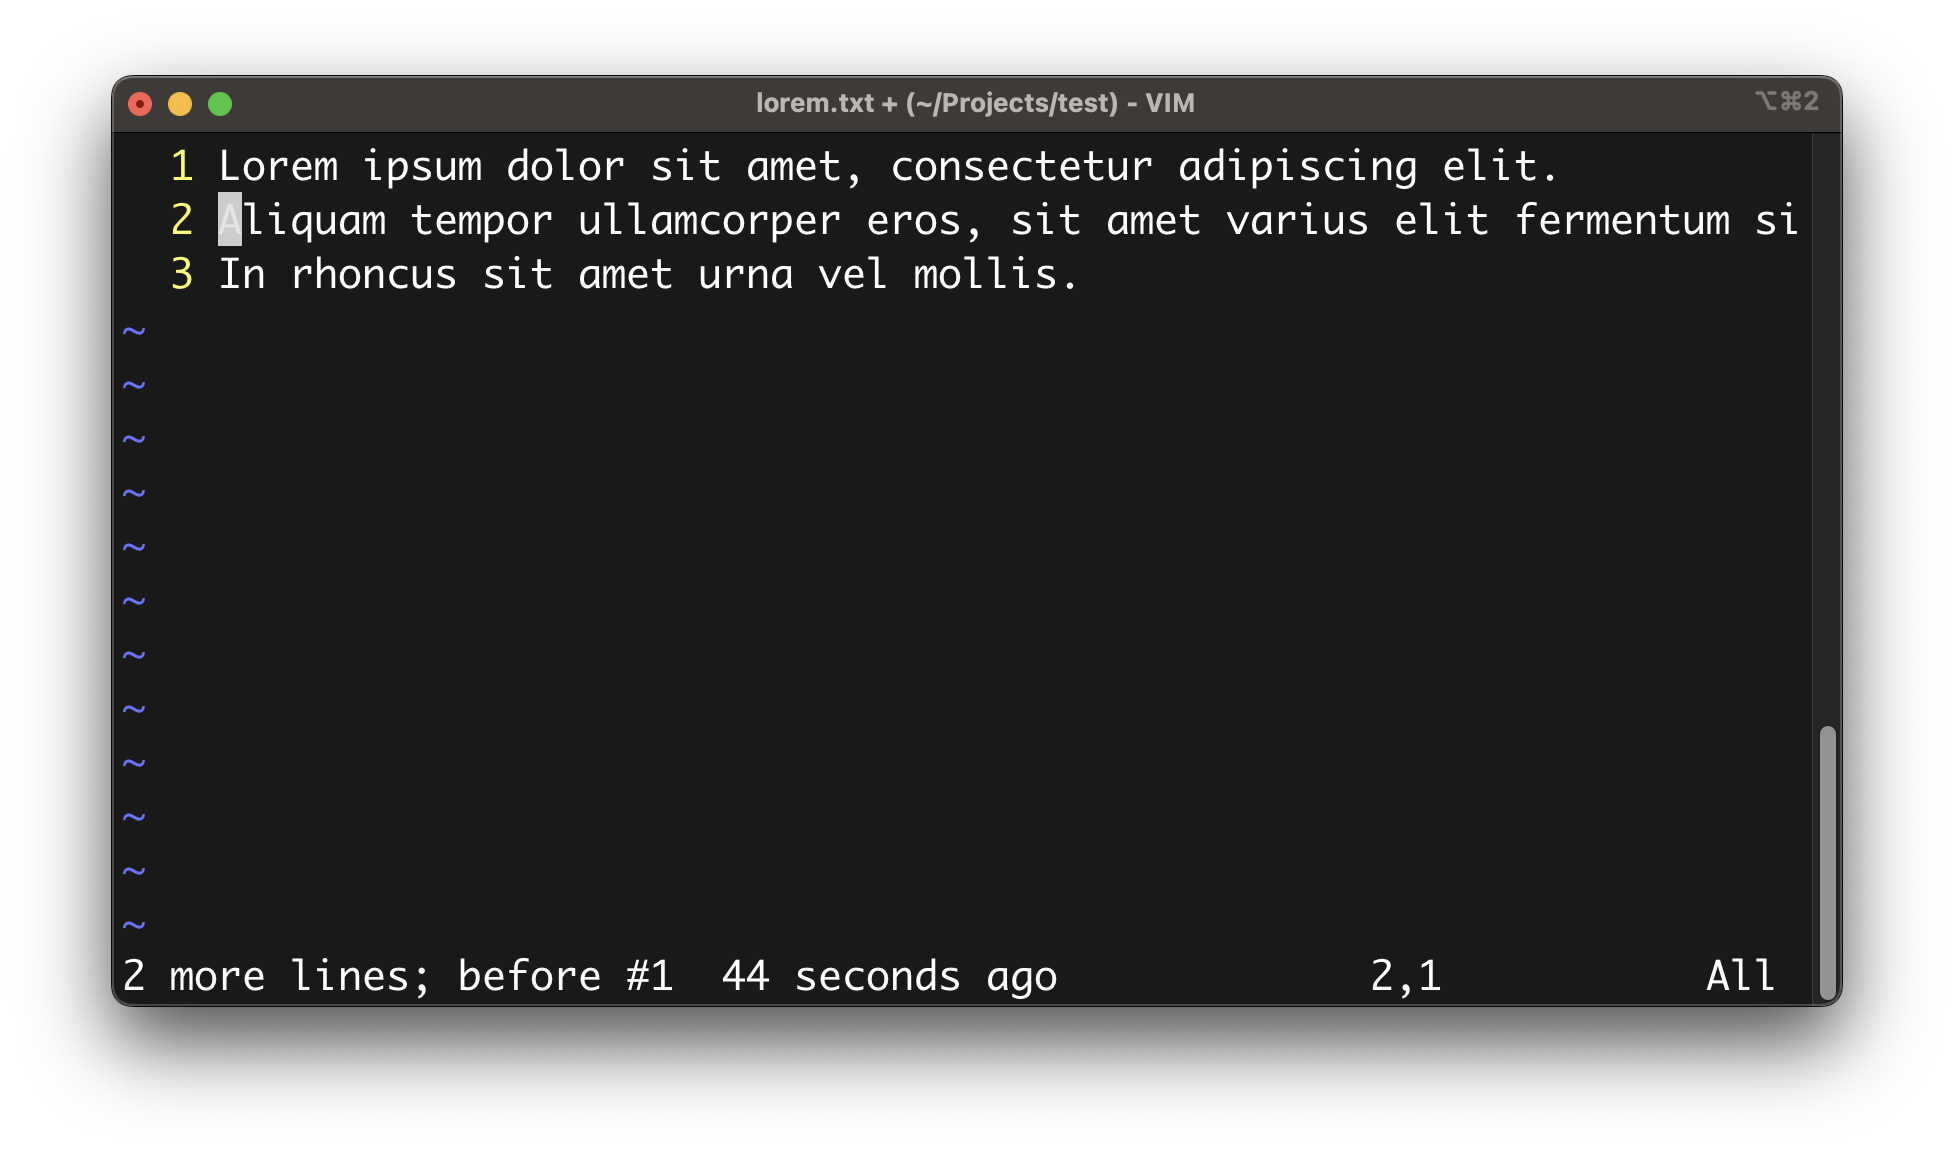
Then moving the cursor down 1 line and pressing the p key.
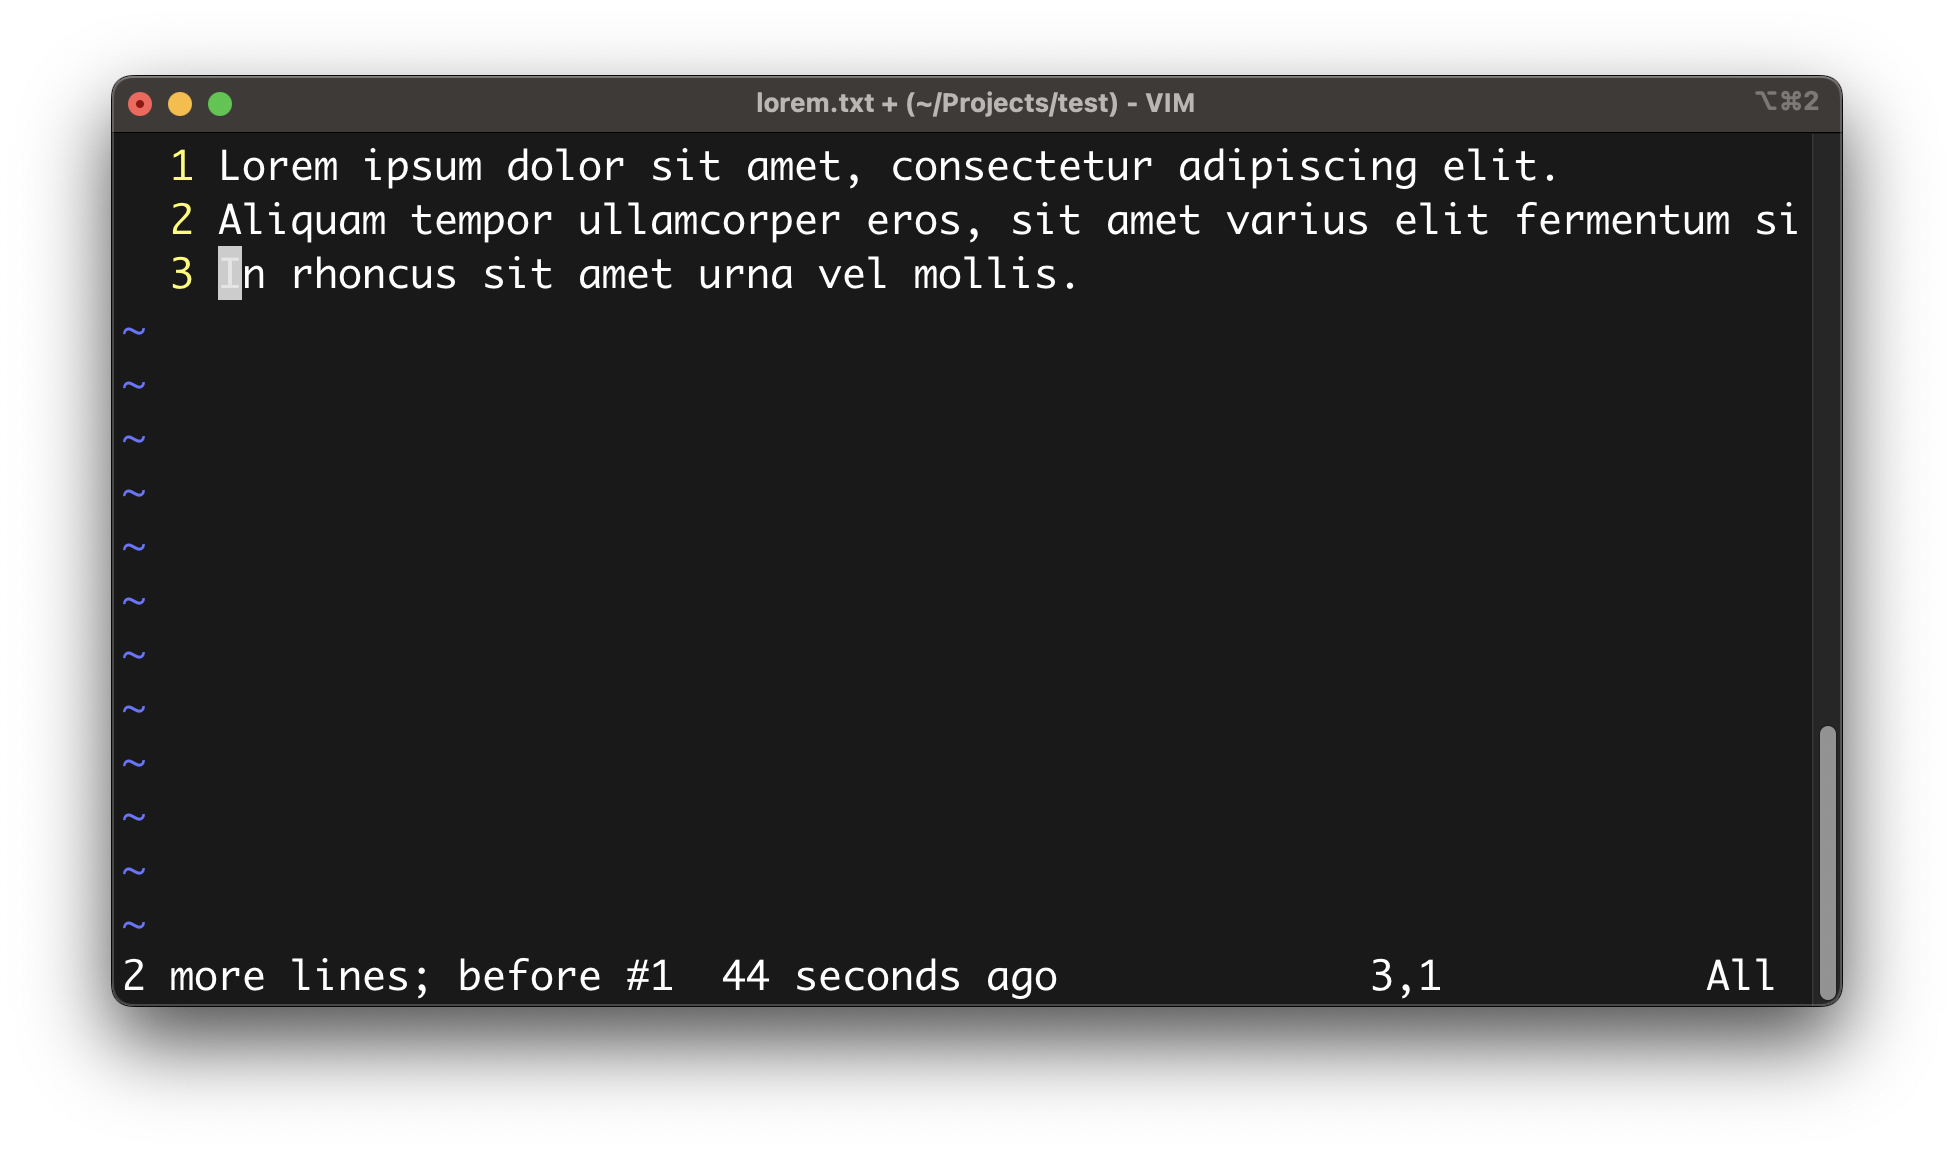
Will result in the content being pasted after the line cursor is on.
Undoing and redoing changes
To undo the latest changes, you can press the u key.
On the other hand, to redo the latest actions, you can use the CTRL + R keys.
Searching for a pattern
To search for a pattern in a file, you need to first switch to the Normal mode, then press the / key followed by the pattern, then press the ENTER key.
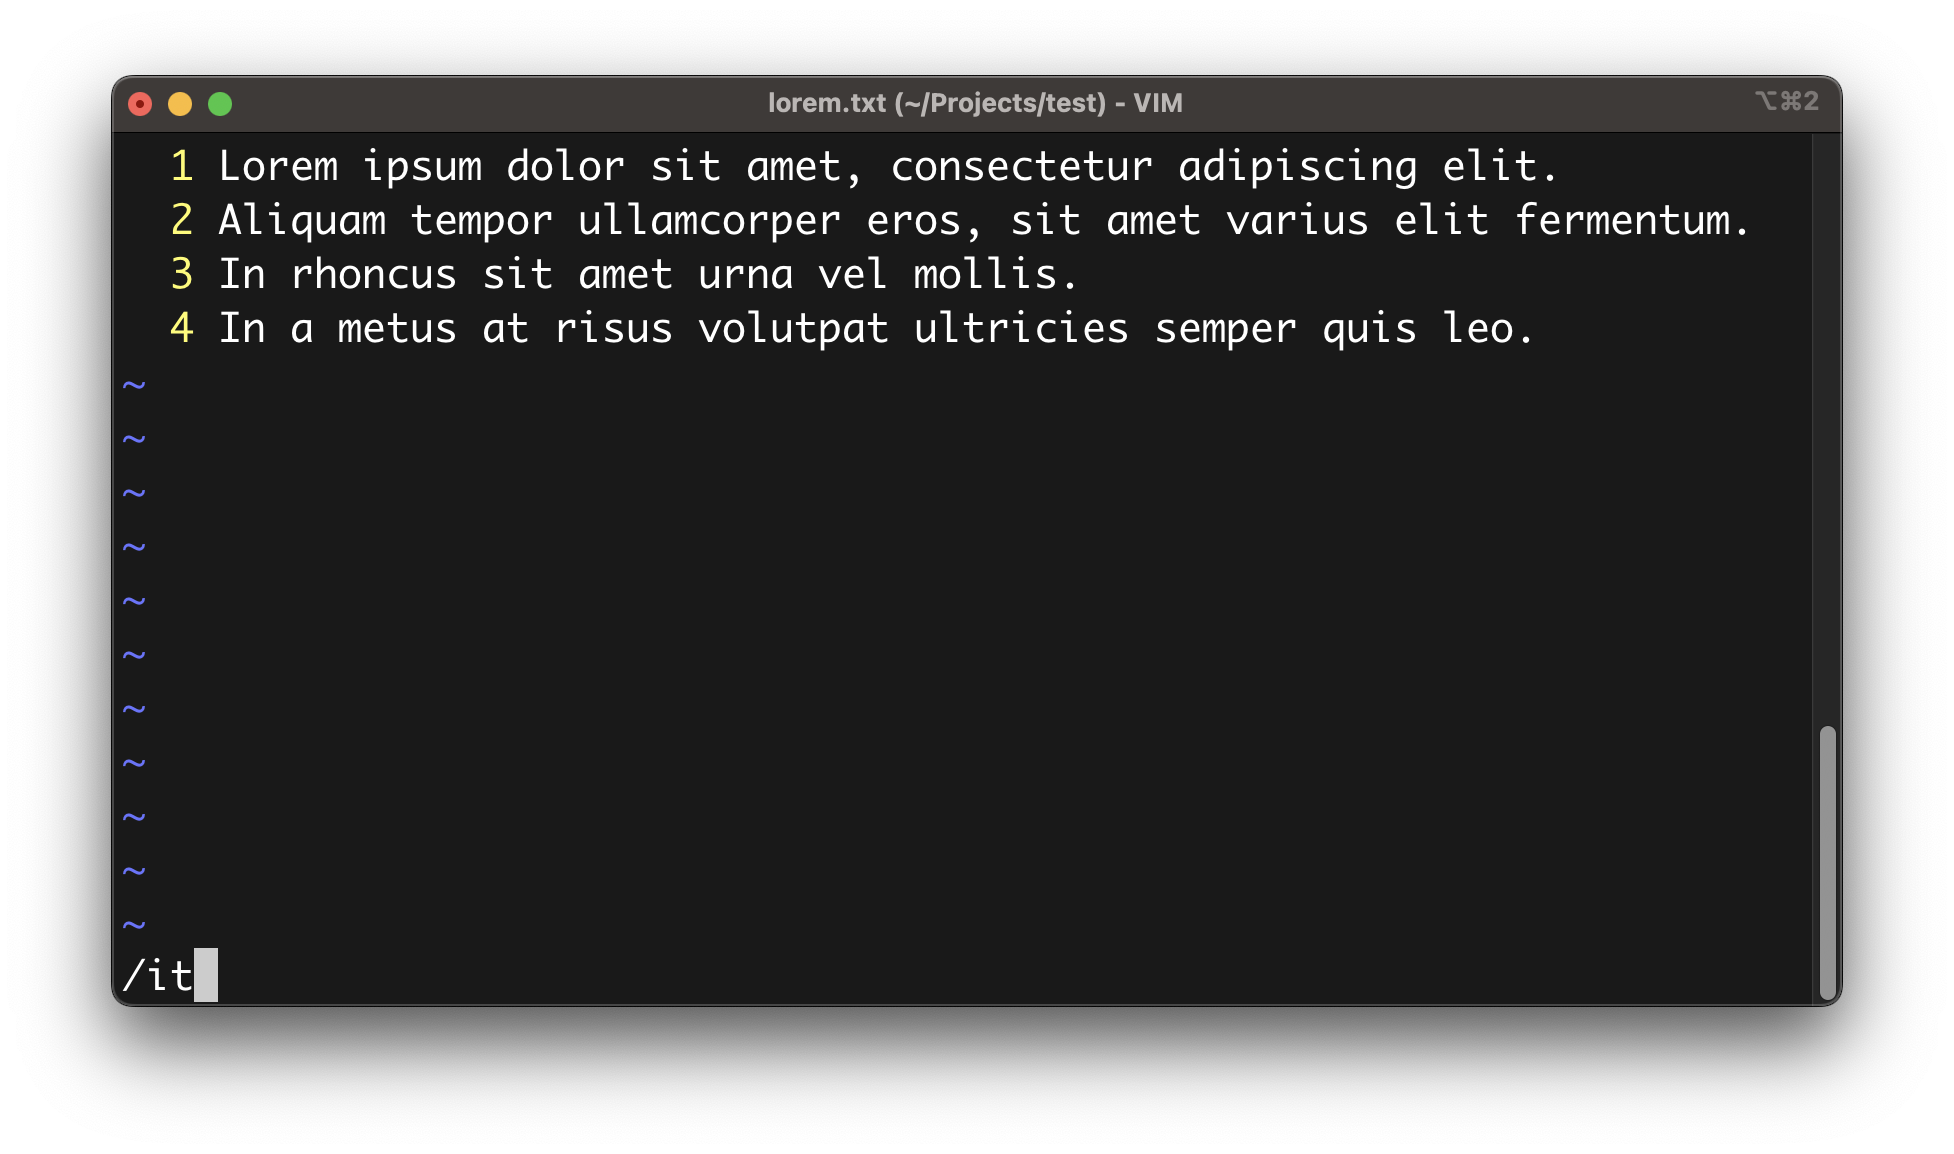
Once executed, this command will highlight all the matching results.
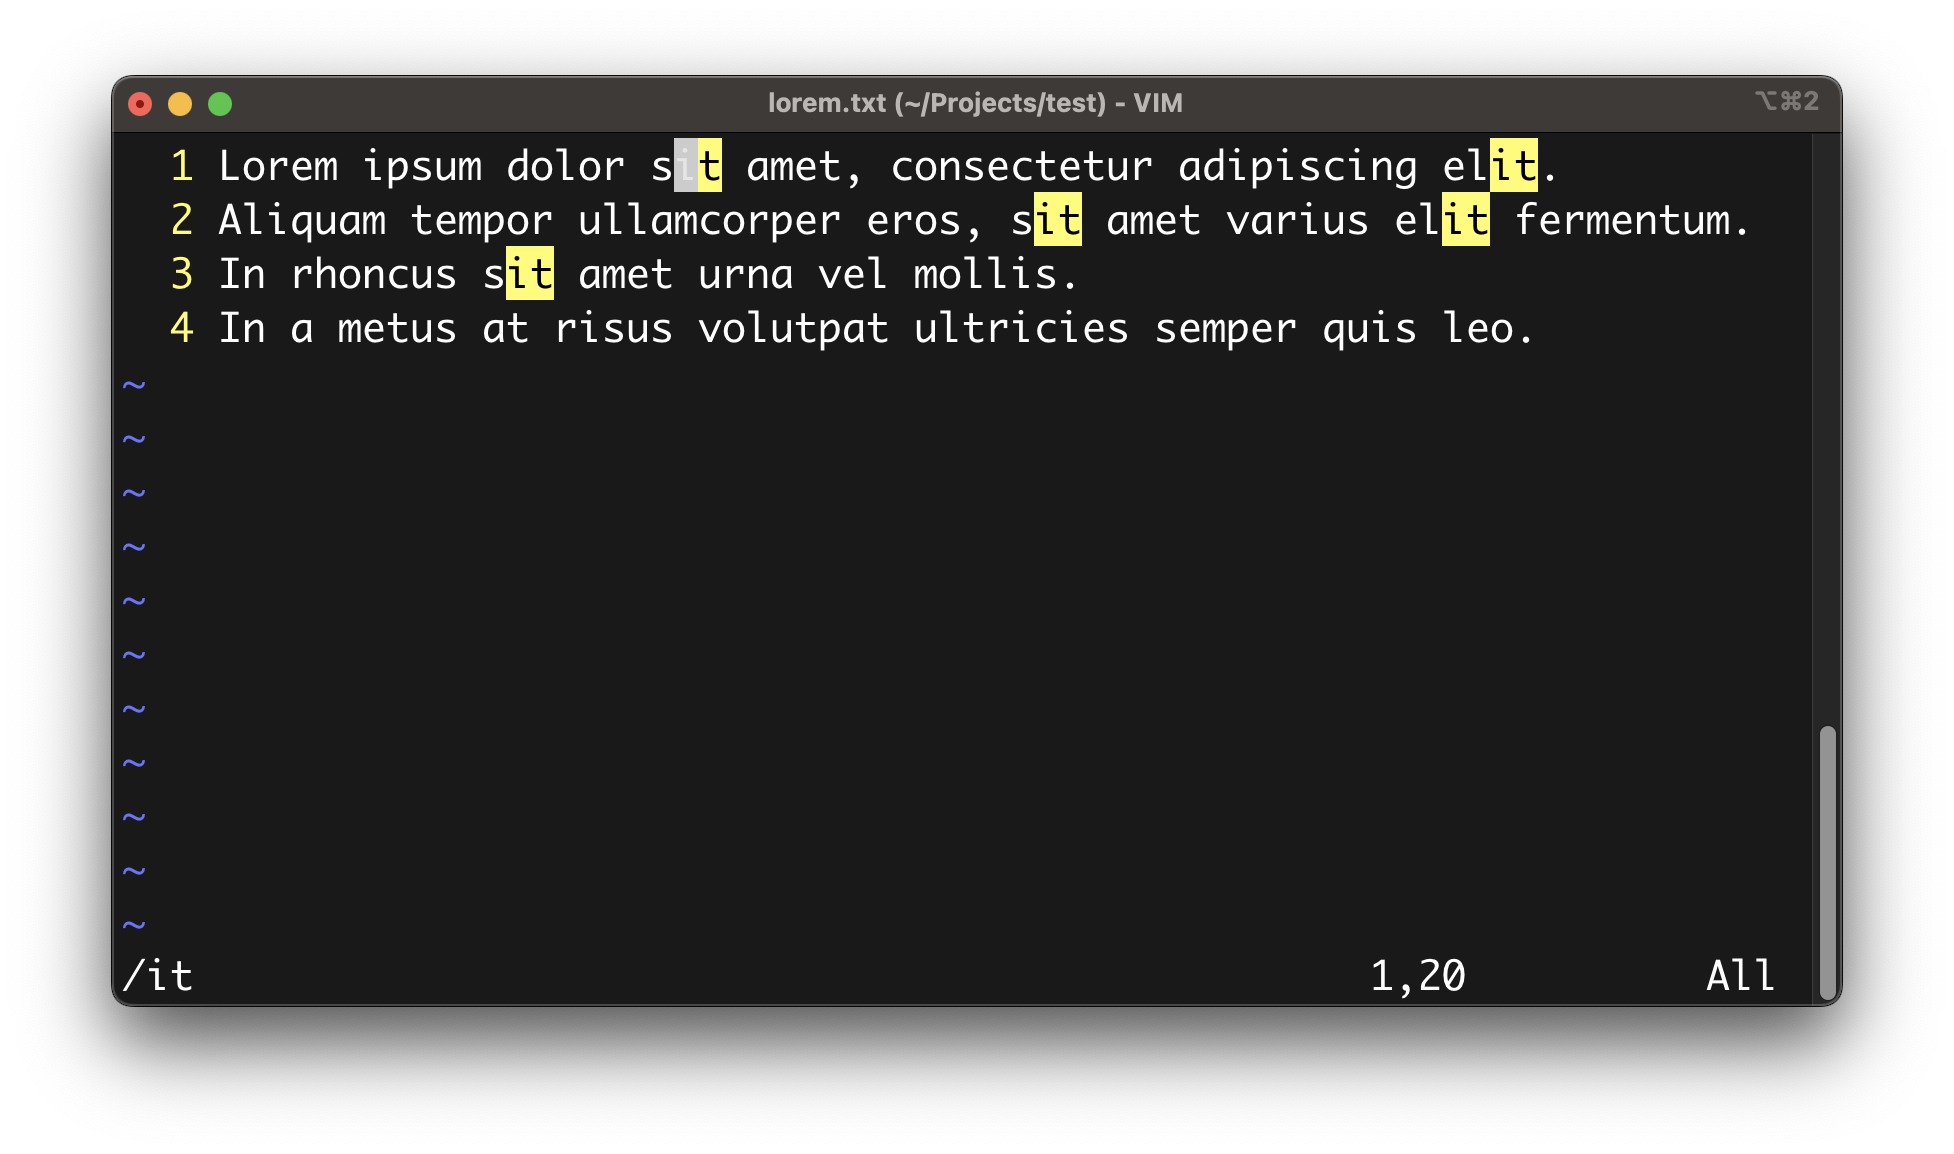
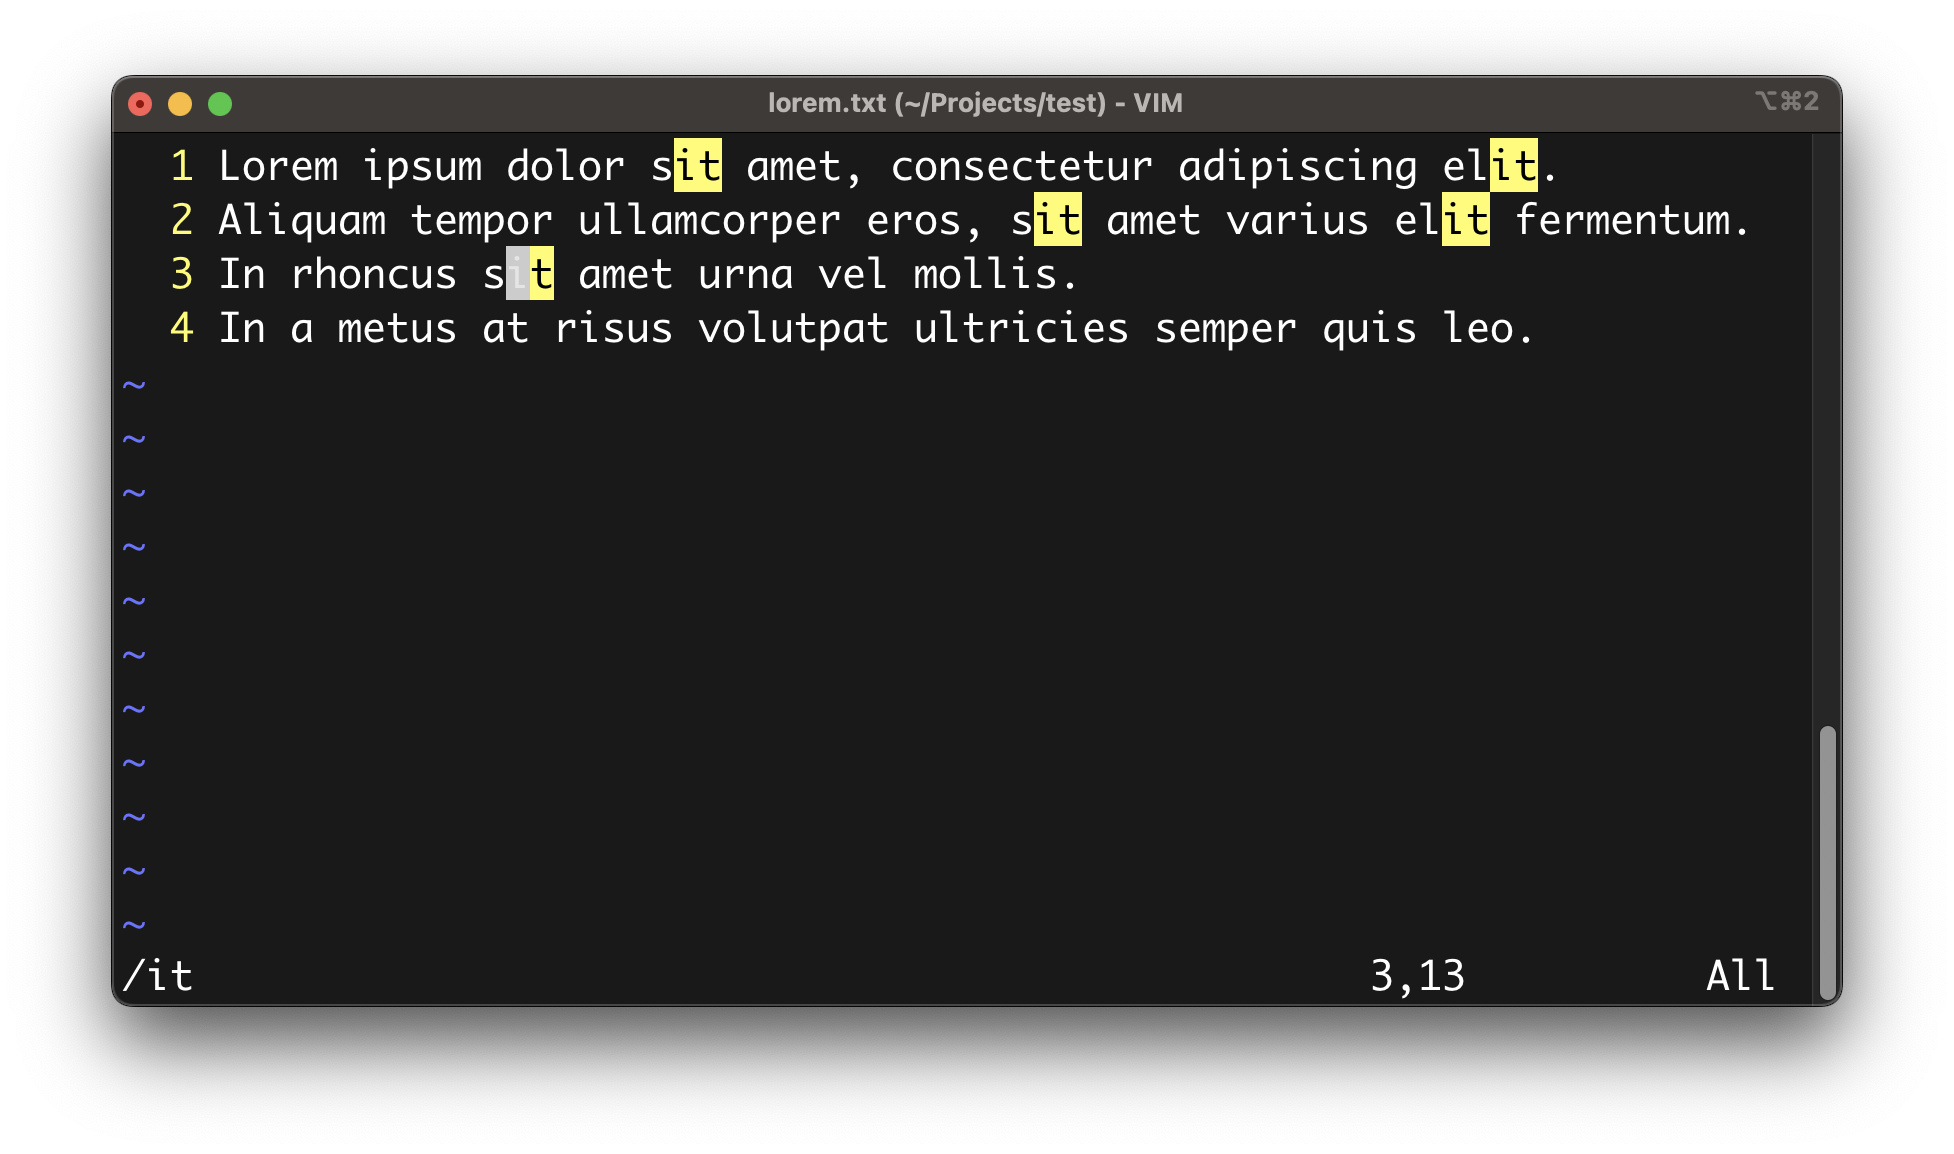
To navigate between the highlighted results, you can press the n key to move forward, and the N key to move backwards.
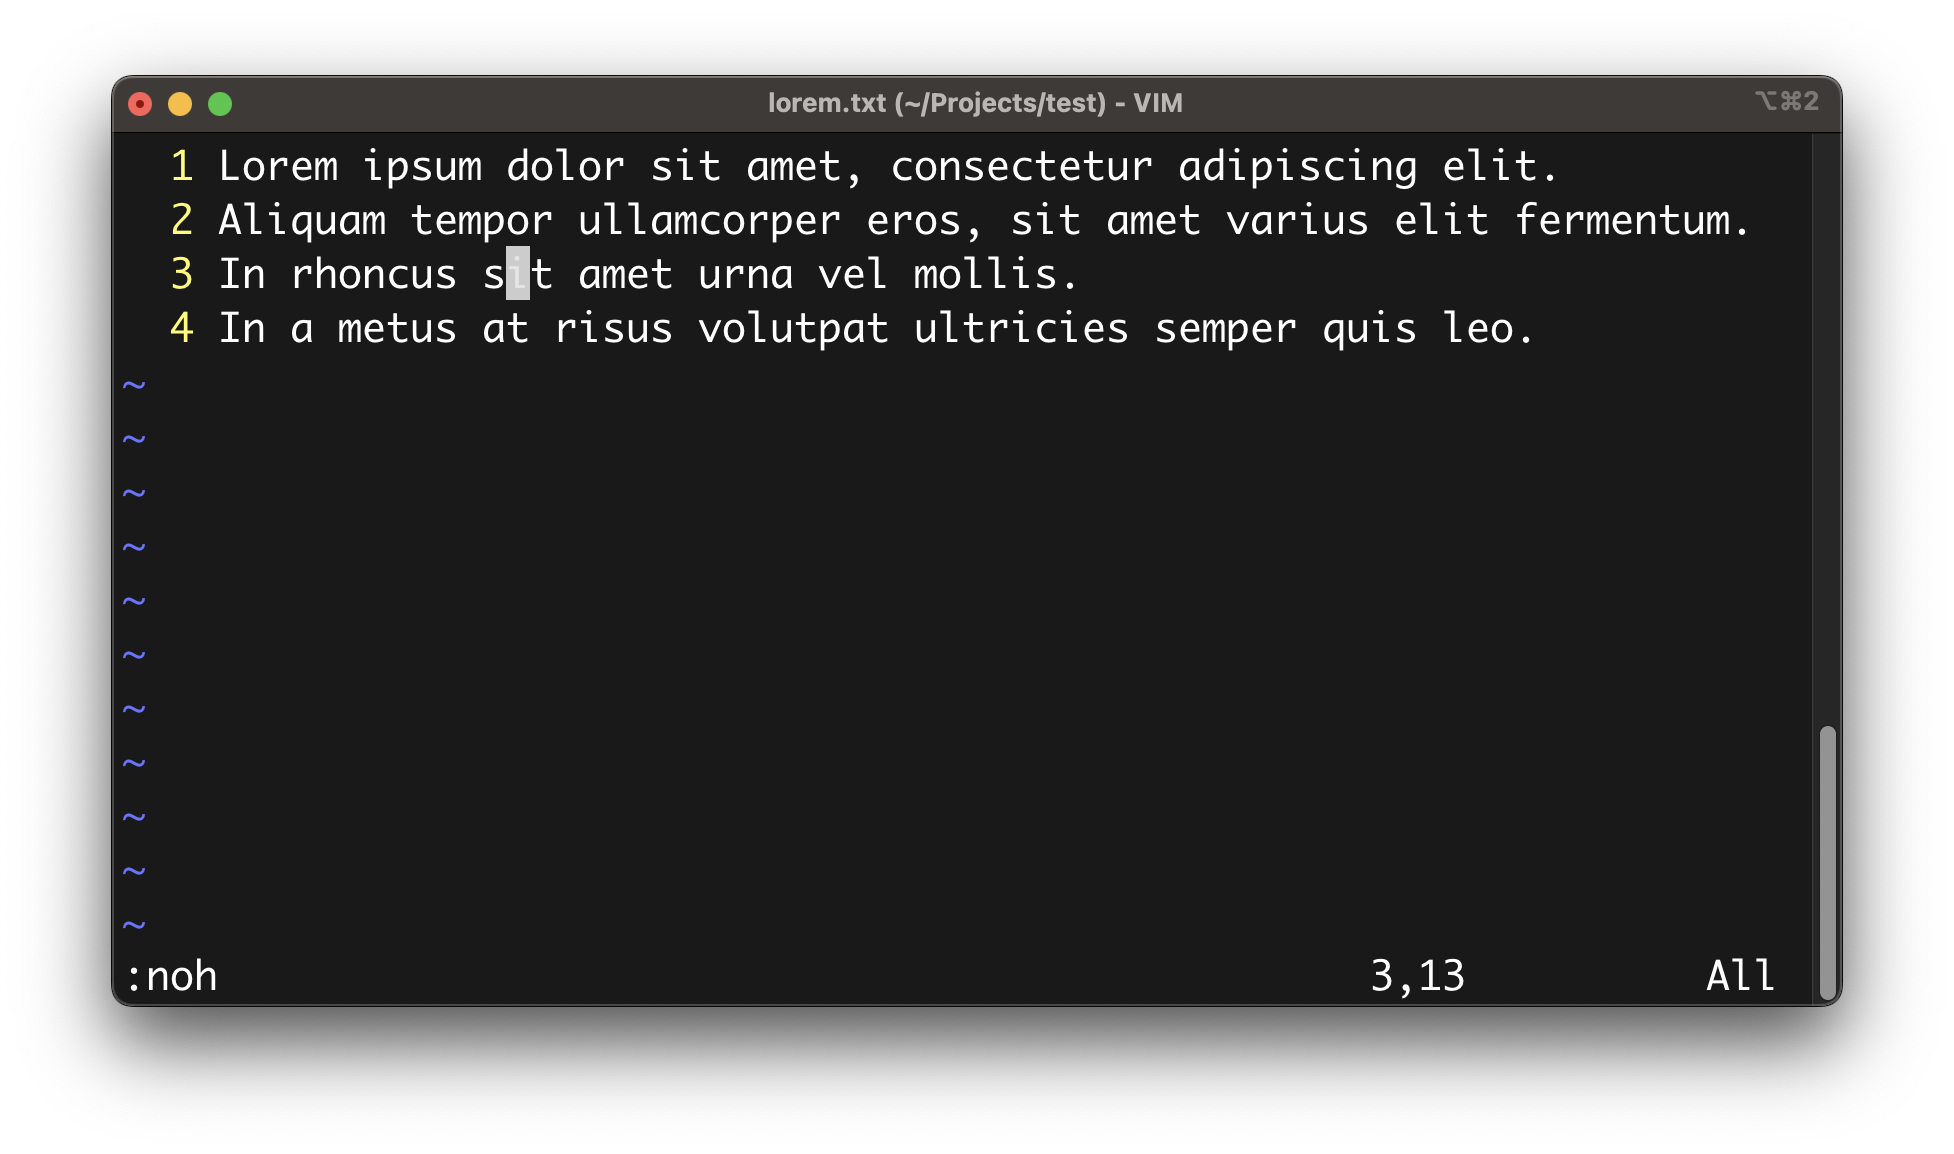
Finally, to turn off the search highlighting, you can press the command : key and execute the noh command (short for no highlight).
Customizing Vim
To customize Vim and improve your editing experience, you can start by creating a new file named .vimrc into your home directory:
$ vim ~/.vimrc
Within this file, you can copy/paste all or any of the following directives regrouped by category:
-
General configuration:
" Disable compatibility with vi which can cause unexpected issues set nocompatible " Displays file's title set title " Turn syntax highlighting on syntax on " Add line numbers on the left-hand side of the window set number " Show the mode you are in at the bottom of the window set showmode -
Coding configuration:
" Highlight cursor line underneath the cursor horizontally set cursorline " Set shift width to 2 spaces set shiftwidth=2 " Use space characters instead of tabs set expandtab " Set tab width to 2 columns set tabstop=2 " Do not wrap lines when reaching the edge of the window. set nowrap " Display the cursor position (line,column) at the bottom of the window set ruler " Automatically indent text when typing set autoindent " Preserve indentation when copying set copyindent -
History and backup configuration:
" Do not save backup files. set nobackup " Set the commands to save in history set history=1000 " Set the number of undo actions set undolevels=1000 -
Search configuration:
" Ignore capital letters during search
set ignorecase

" Override the ignorecase option if searching for capital letters.
set smartcase

" Show partial command you type in the last line of the screen
set showcmd

" Show matching words during a search
set showmatch

" Use highlighting when doing a search
set hlsearch
Once you're done, you can save this file using the :wq command and reopen the editor to see the changes in action.
Note: The full list of options is available here: http://vimdoc.sourceforge.net/htmldoc/options.html
Changing the default color scheme
By default, Vim comes pre-packaged with a list of color schemes that allow you to change the visual look of the editor.
To display the list of available color schemes, you can type the :colorscheme command followed by a space character, and press the CTRL + D key combination.
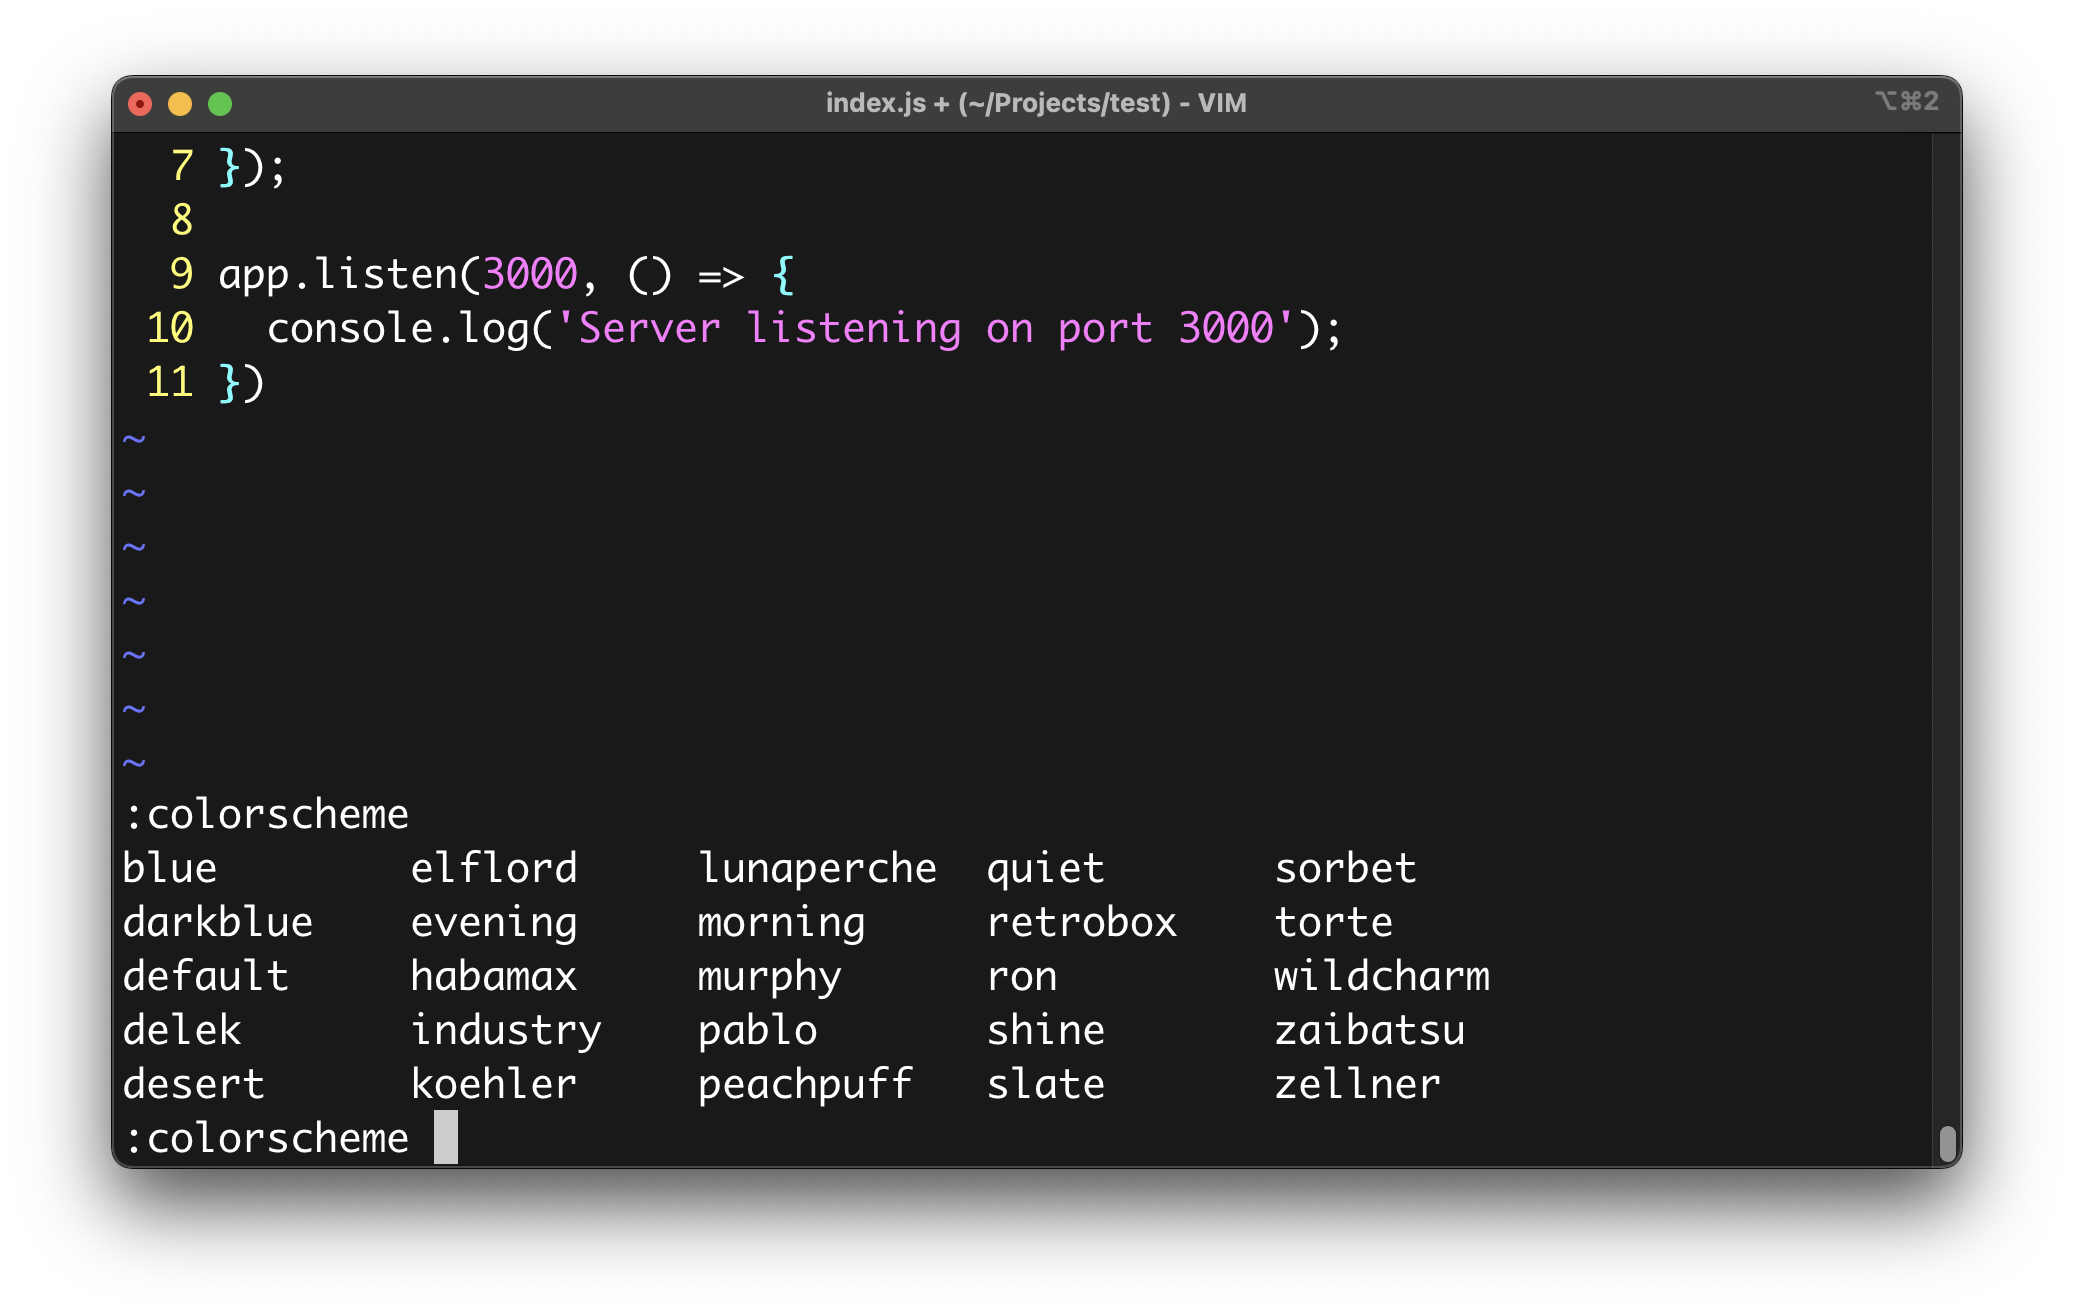
To change the color scheme in use, you can type the same command followed by the name of the scheme.
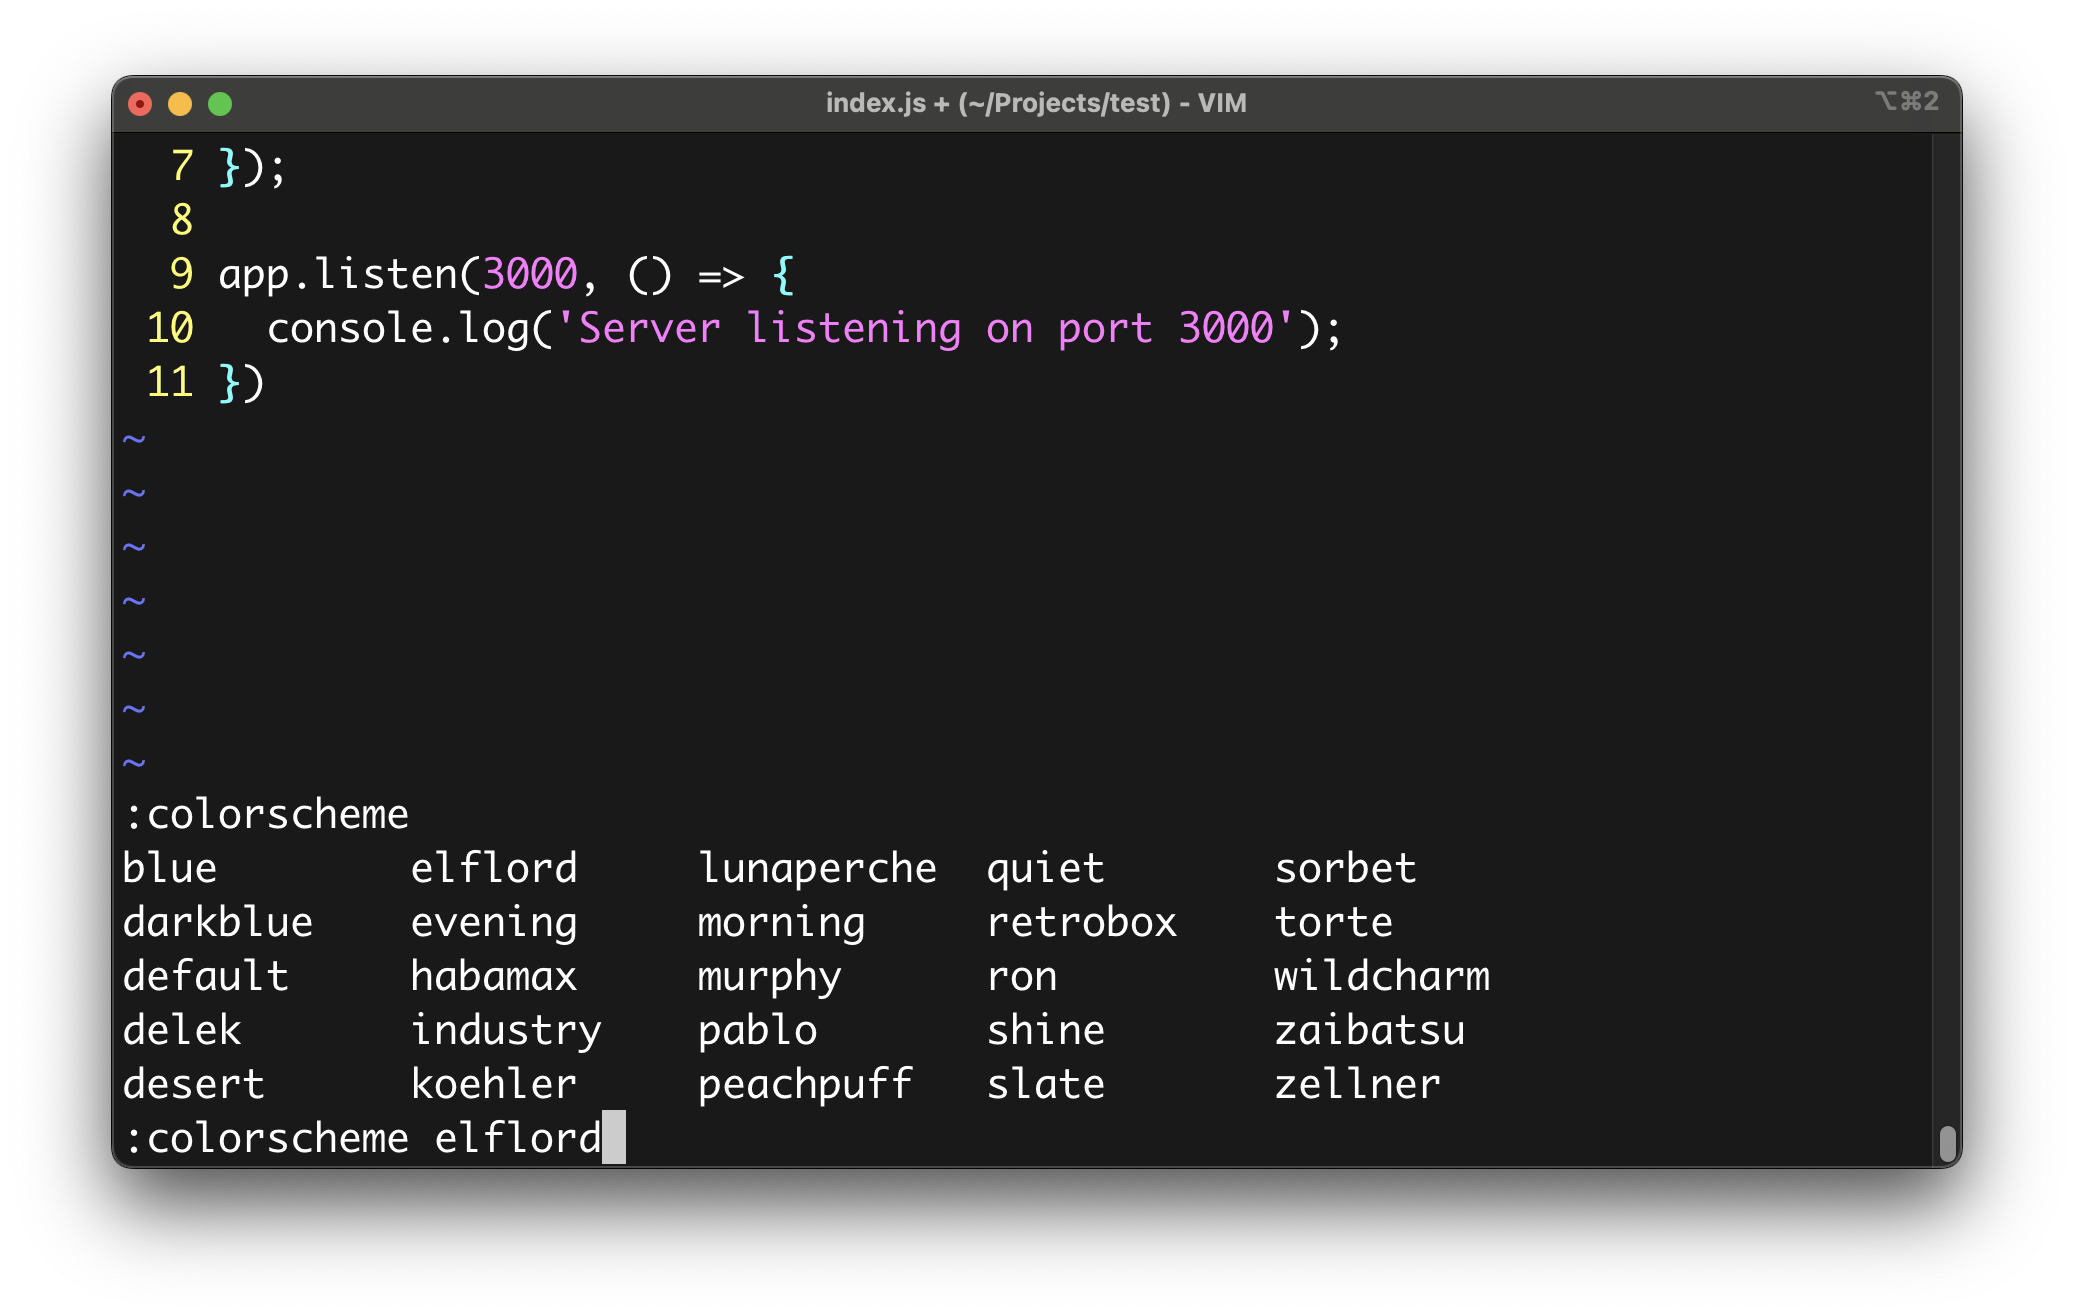
And press the ENTER key to apply the changes.
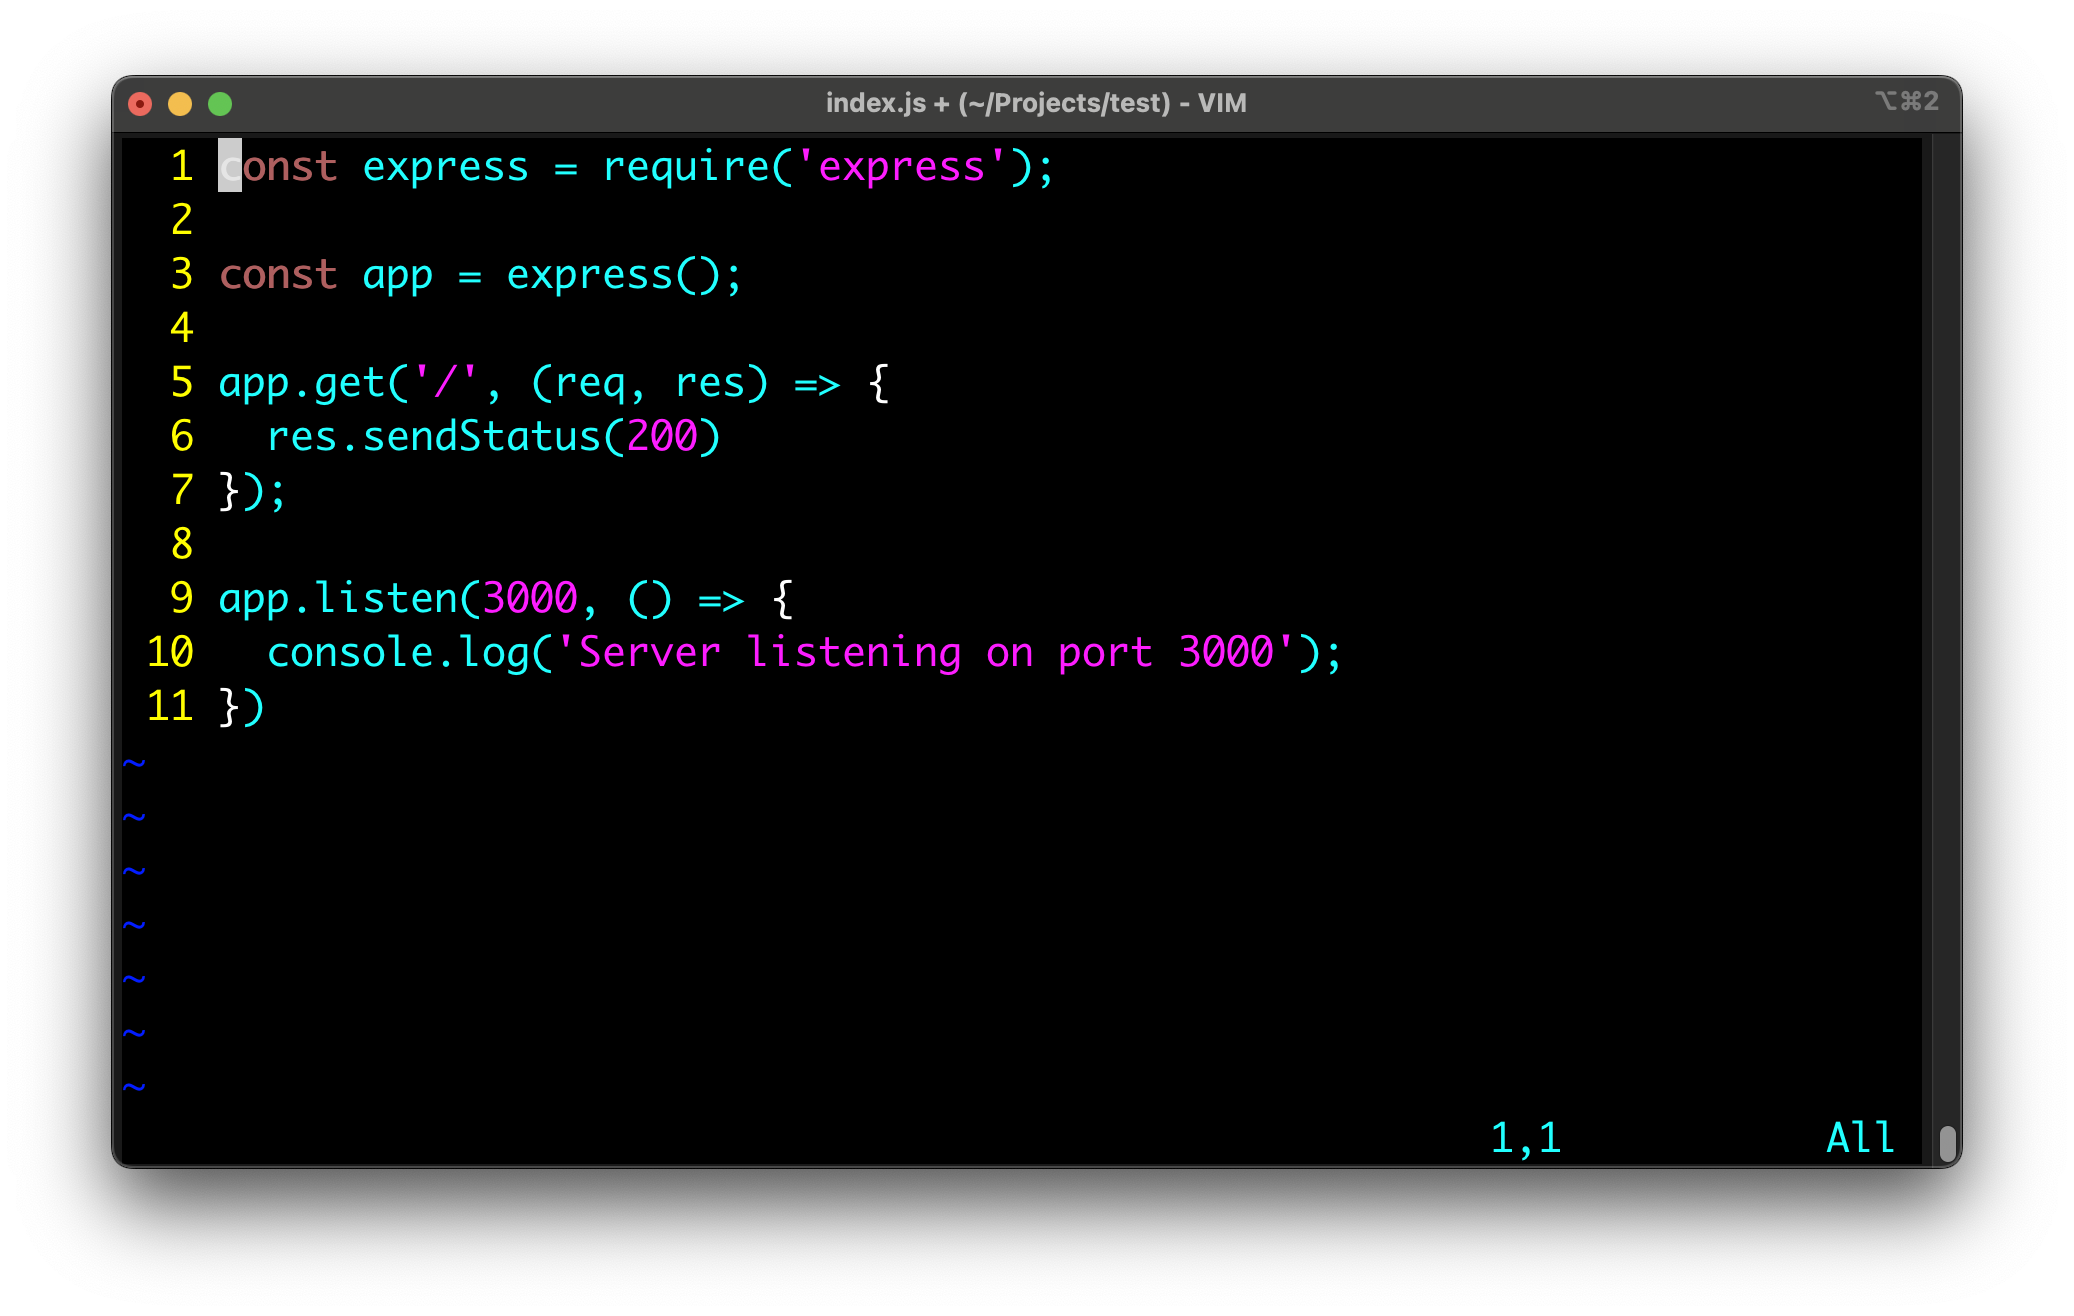
Note: You can also change the default color scheme by adding the
colordirective into the.vimrcfile:color <color_scheme_name>
Installing a custom color scheme
To install a custom color scheme downloaded from the Internet, you can create a new directory named colors:
$ mkdir -p ~/.vim/colors
Copy the scheme's file into it:
$ mv path/to/scheme.vim ~/.vim/colors/.
And update the default scheme in use either using the :colorscheme command or the color directive.
Summary
Here's a summary of what you've learned in this lesson:
- The Normal mode allows you to navigate the text, copy/cut/paste characters, words and lines, but also roll-back actions, and so on.
- The Insert mode allows you to modify the text by typing and removing characters, the same way you would do in any other graphical text editor.
- The Command-line mode allows you to execute commands, such as search, replace, save, quit, etc.
- The
vimcommand is used to open a file in Vim. - The
ikey is used to switch from the Normal mode to the Insert mode. - The
ESCkey is used to switch from any mode to the Normal mode. - The
:wcommand is used to save a file. - The
:qcommand is used to quit a saved file. - The
:wqcommand is used to save and quit a file at once. - The
:q!command is used to quit a file without saving changes. - The
y+ykey combination is used to copy the current line. - The
y+#+UP/DOWNkey combination is used to copy#lines up or down. - The
d+dkey combination is used to cut the current line. - The
d+#+UP/DOWNkey combination is used to cut#lines up or down. - The
pkey is used to paste the content present in the buffer. - The
ukey is used to undo changes. - The
CTRL+Rkey combination is used to redo changes. - The
/patterncommand is used to search for a pattern in a file. - The
:nohcommand is used to disable text highlighting. - The
.vimrcfile is used to customize the editor. - The
:colorschemecommand is used to change the default color scheme.
Enjoying the courses?
I've made these courses completely free so anyone can learn from them. If they've helped you and you'd like to actively support the work behind BackendBrewery, you can leave a tip:
Support BackendBrewery